|
For this assignment we had to take 7 high dynamic range photos. This meant that we were taking the same photo in a normal, dark, and light lighting. To do this we adjusted the aperture two stops, in each direction, from the normal lighting. We the took the photos and combined them using photoshop. Finally we blog them. Here are my eight high dynamic ranges: From this assignment, I learned the importance of using a tripod. I enjoyed playing around with the settings when we merged the photos. Next time I want to work on getting a better bright photo cause most of my bright photos were not bright they were just brighter then the normal photo. I also want to get more comfortable with my camera settings.
0 Comments
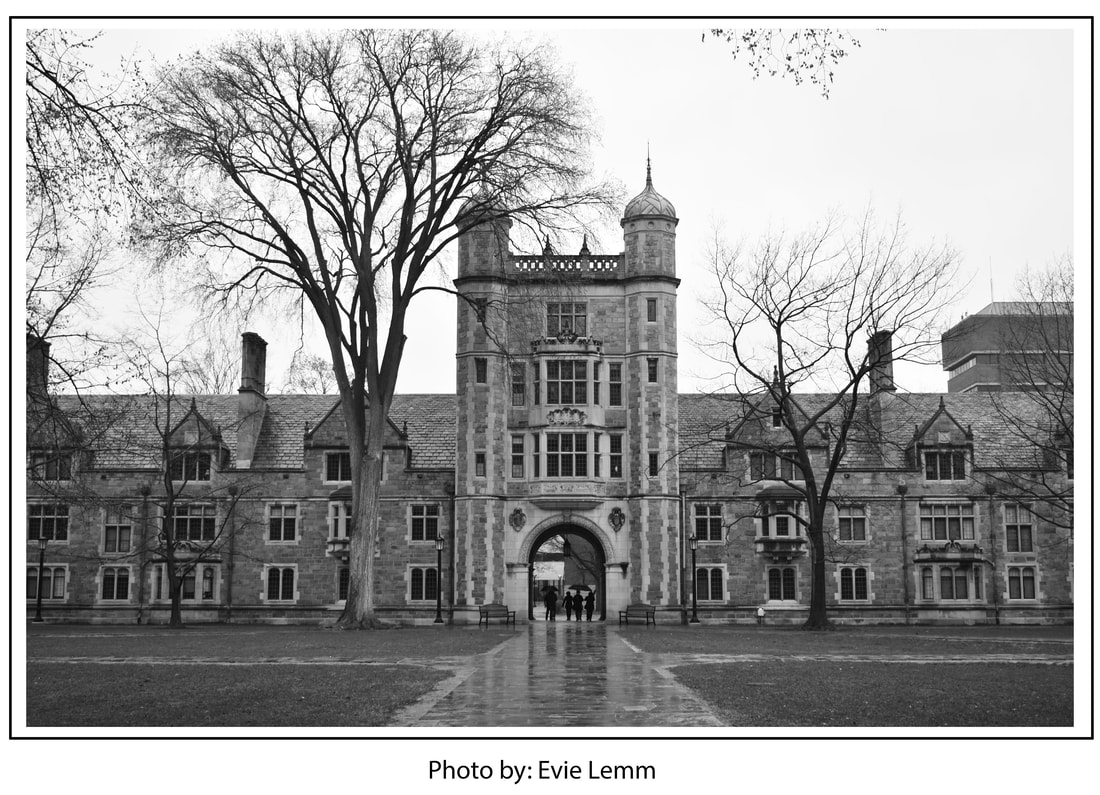
For this assignment, we had to take 50 photos that fit a certain category. We then found the best one, and added a frame to it. After this we turned them in and blogged them. The category I chose was architecture. This is my best photo. It is a photo of nickels arcade. When I edited it I turned it black and white. I also put a frame on it.
My next best photos are:
When doing this assignment, I learned how to brighten an image if there is bad lighting. I still need to improve on coming up with new things to take photos of because, I have already taken photos of most things around town. i want to learn how to edit things such as cars or street signs out of photos. This would allow my photos to look more professional.
For this assignment we had to take two different typology photos with at least nine different photos in each. A typology is where you take a certain amount of photos, in this case nine, that all relate to the same thing (such as different types of rocks, jewelry, shoes, ect). You then edit the photos to make one photo. After we made our two typologies, we blogged them.
I thought the editing of typologies was easy. However, I still need to work on being able to keep a constant light so that the images all appear to be taken at the same time. For example ,in the top left corner of my rock typology the photo is brighter than the rest.
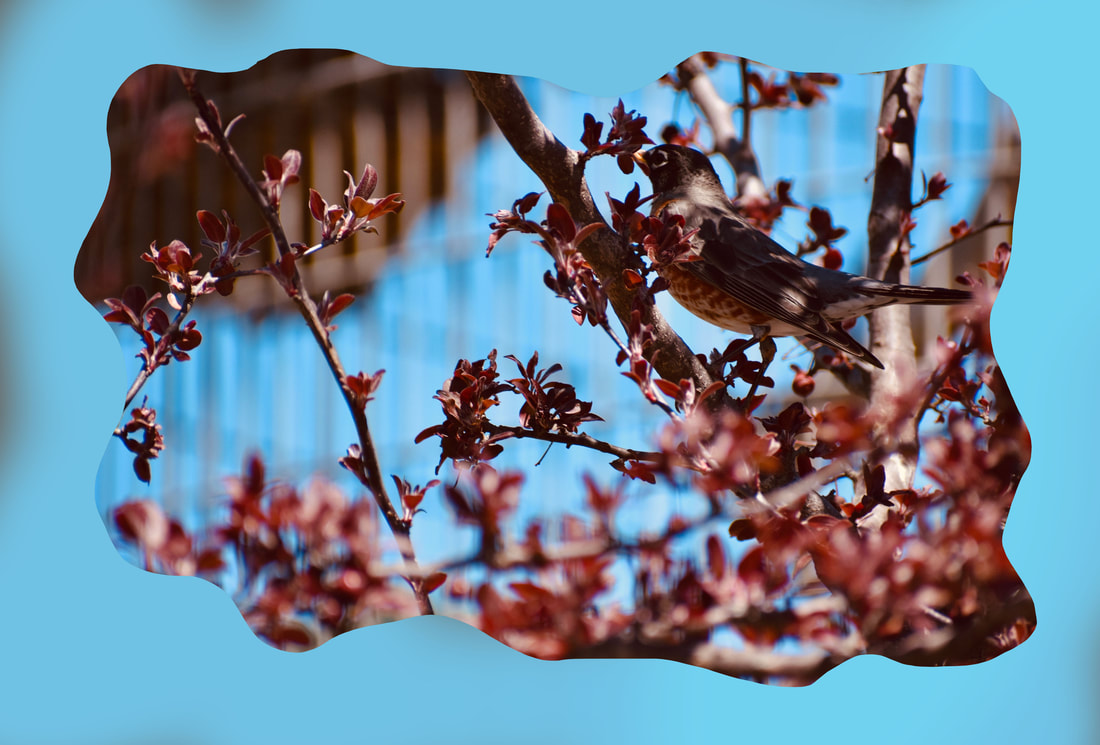
For this assignment we had to pick a new category to take photos of. I chose the category nature. After talking the photos, we decided which photo was our best photo. We then added a frame to that photo and did a blog post
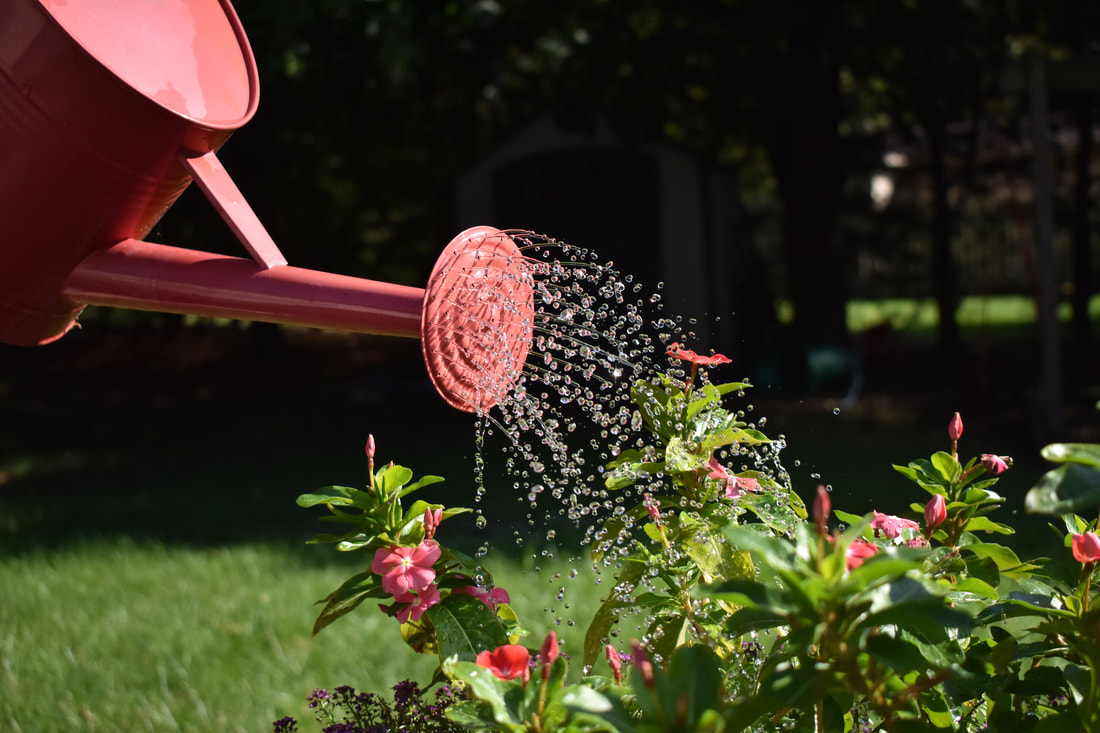
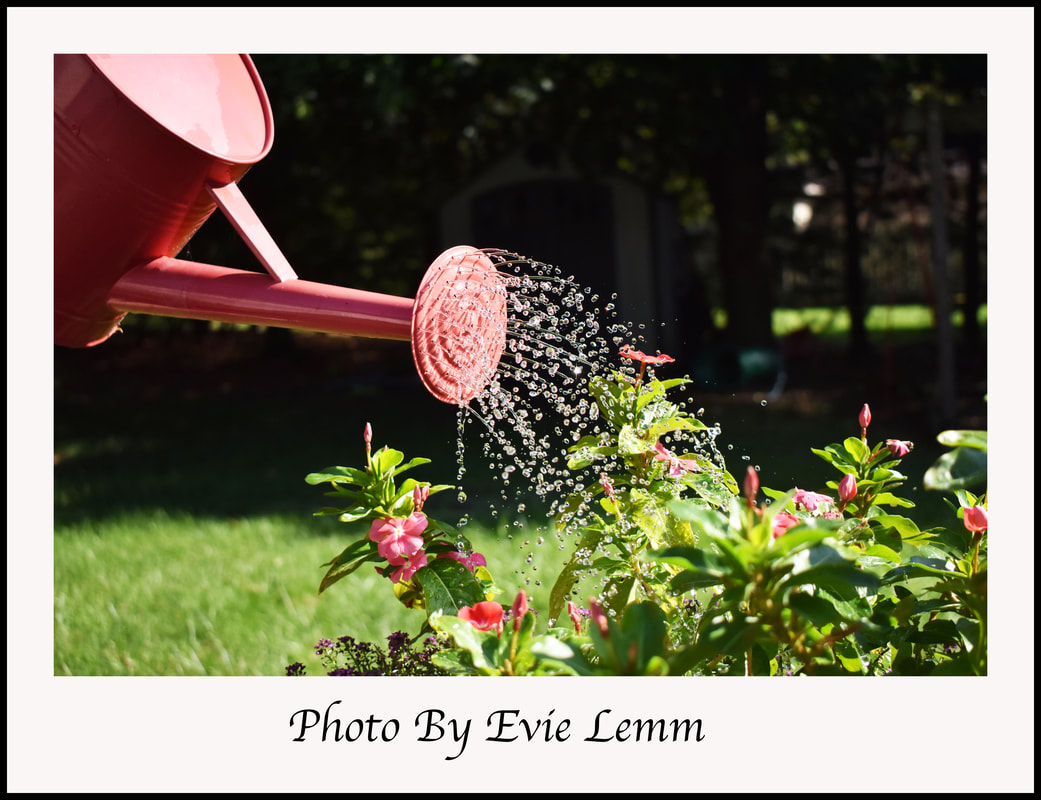
My Best Photo: When I edited my photo I adjusted the contrast and brightness and added a frame. My next best photos: This assignment was my first time taking a freeze photo picture of water. The typical nature photos are just flowers, but I wanted to challenge myself. Therefore, I added in the watering can. Next tie I want to try and capture nature in a new way. I still need to work on aperture and shutter speed.
For this assignment, we were instructed to make four different Panoramics, two of which could be taken on campus. Each Panoramic had to consist of at least 5 phots. We then used photoshop to combine the photos and add a frame. My Panoramics: 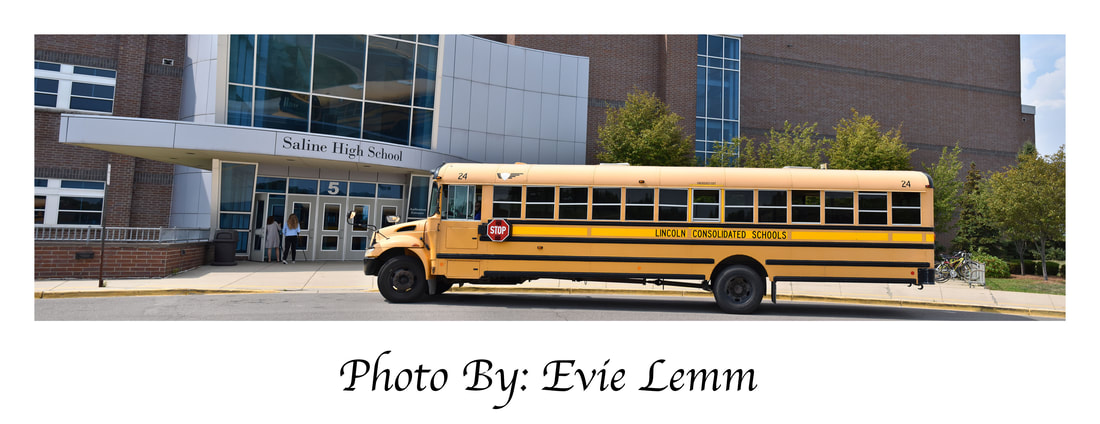 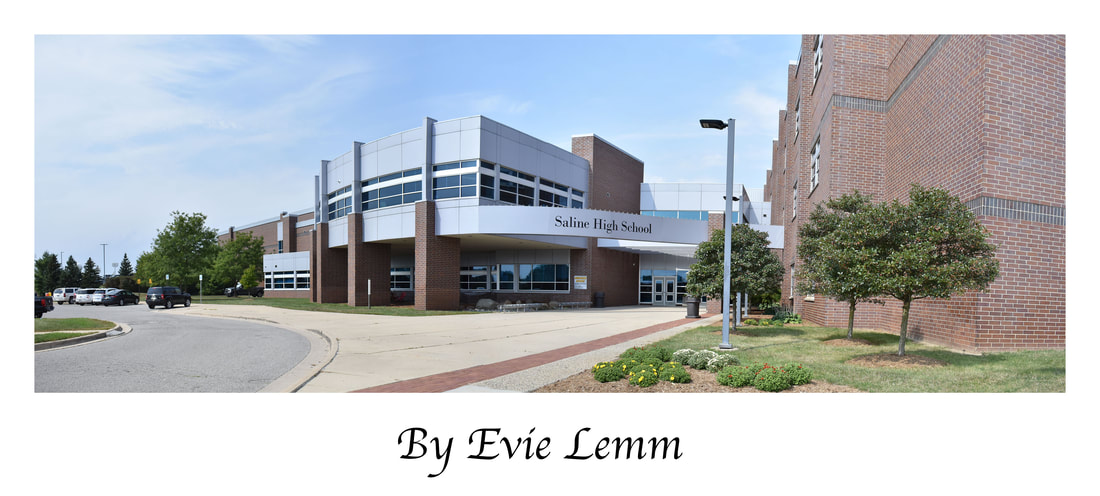    From this assignment I learned that is very important to make sure you take your photos in consistent lighting. The first time I tried taking one of my panoramics, it was outside and the sun randomly got brighter and darker because of the clouds. This caused the lighting between the combined photos to have different lightings. I then retook the photos and was able to combine them smoothly. Next time would like to try and do a panorama that is 360 degrees.
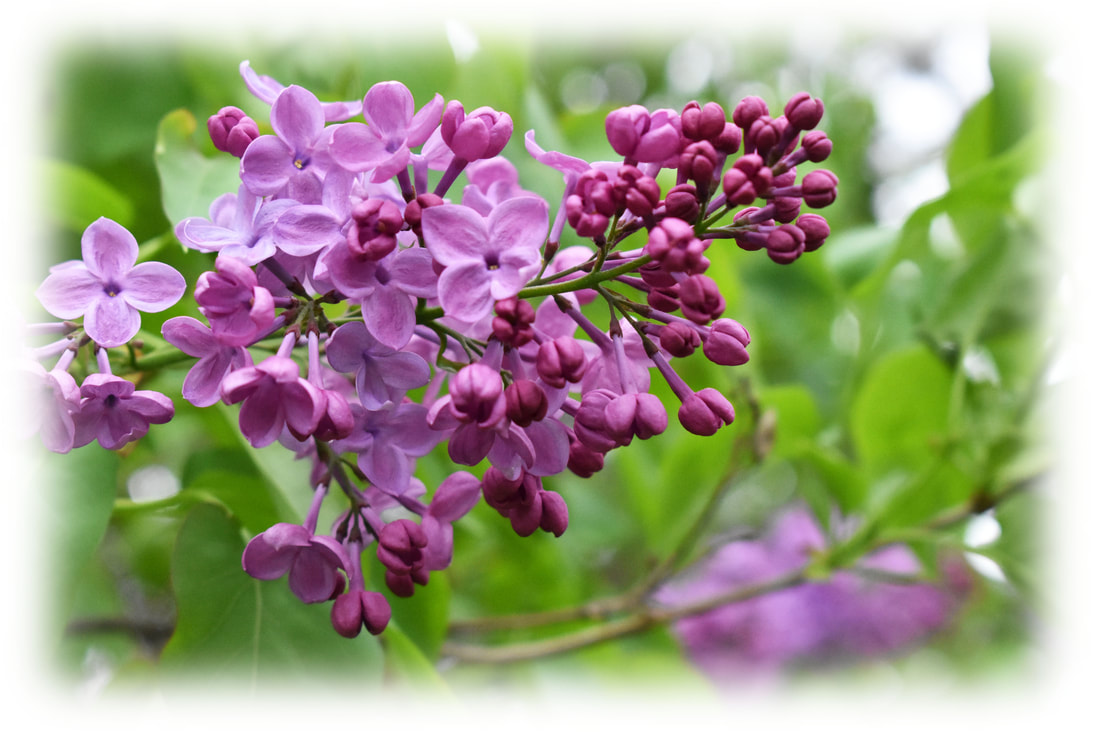
For the assignment we had to take a photo of something that represented color. The final photo I used Was of some bright flowers. My Final Photo:
When I edited my photo I made the flowers pop by making the background black and white. I also added a white frame. My next best photos: During this assignment, I remembered how to do a color pop. I still need to improve on making sure my photo is clear unless I want it to be blurry. I think this category was easier than most because you can find color almost anywhere. However, in order to challenge, next time I would like to find something harder to take photos of that still represents color.
For this assignment we had to add four different frames to eight photos. On the first two photos we add a a gallery frame, on the second two we add a gaussian blur frame, on the third two we put a lasso frame, and on the last two we put a sprayed stroke frame. Gallery Frame: It is frame gives the look of a polaroid photo. It has a border that is longer at the bottom. It also has a black border.
Gaussian Blur: This frame blur's the photo at the edges. Using photoshop you can determine how blurry you want the edges.
Lasso: For this frame you use the lasso tool to make a boarder of your choice. Then you can color the border you made.
Sprayed stroke: This frame gives the affect of a paintbrush stroke on the edges. You can then color the border around it.
During this assignment, I learned how to make a frame for a picture. I would still like to get better at using frames more often. Frames allow photos to look more professional. I also want to be able to learn how to take a color from a part of the picture and make that the border, kinda like what we did last year with the clone stamp tool.
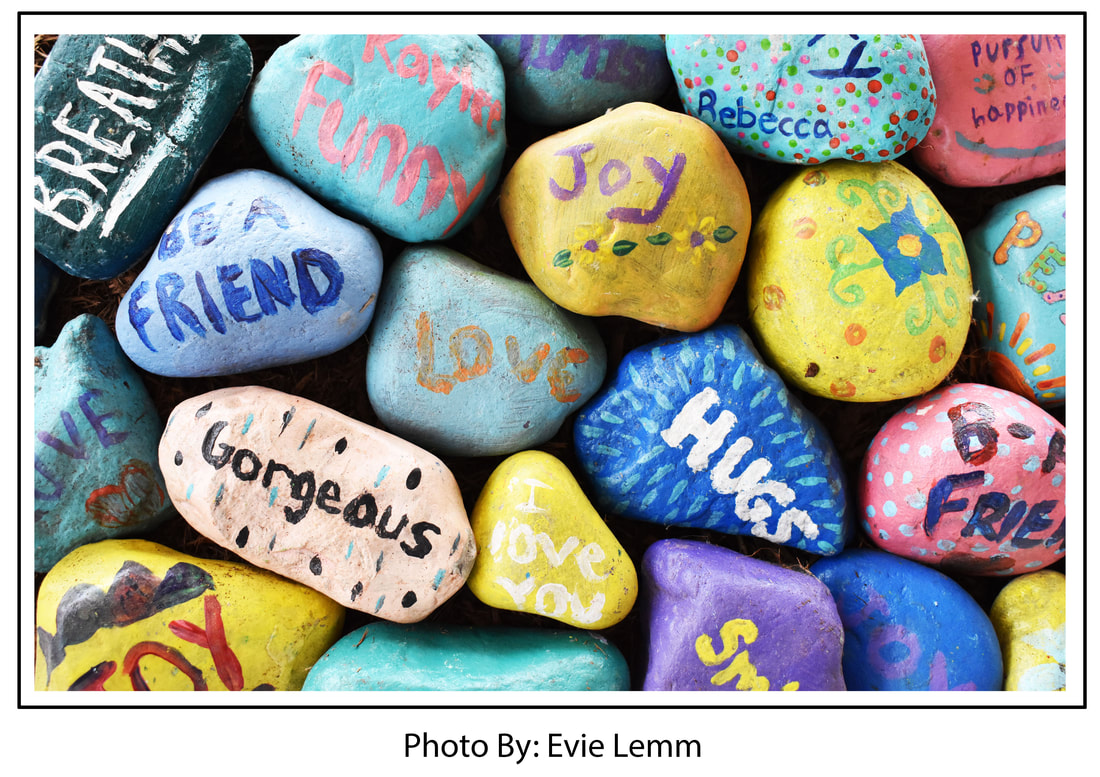
For this assignment we took photos for 9 different principles of designs. These include balance, movement, repetition, emphasis, simplicity, contrast, proportion, space, and unity. We then blog our photos and explain each principle. Balance: Using multiple things in a photo to balance each other out. In my photo the smaller Saline flag balances out the bigger American flag.  Movement: This principle can either show the motion blur or catch the shot and freeze action. I captured someone running and showed the movement of their shoes.  Repetition and Rhythm: This uses patterns to draw you into the photo. I did a pattern of a bunch of inspiration rocks.  Emphasis: This principle uses things like color and patterns to emphasize the main point of the photo. I used a bright flower as emphasis.  Simplicity: Uses minimal activity in the photo. This allows the viewer to easily see the main point without confusion. I used a green background and then my plant.  Contrast: This principle has a drastic difference in light and dark colors, such as black and white. I had my friends shoes against the black road.  Proportions: Proportions uses different shapes and sizes to create a cool image. I used distance to show the size of a big foot crushing a small person.  Space: This principle can either take up all the space in a hoto or leave lots of space open. I left lots of space open when I took a photo of my shoes.  Unity: Unity is where you use multiple principles of design in one photo. I used emphasis with the lighter green turtle, space by filling the whole frame, and balance with the different flowers balancing each other out..  Reflection...I During this assignment I was able to mostly remember how to use manual mode. I used manual mode for all my photos , but I still need to work on making sure things don't get blurry. I found it fun to come up with different ways to present the principles. My prior knowledge of photography allowed me to brighten the photos.
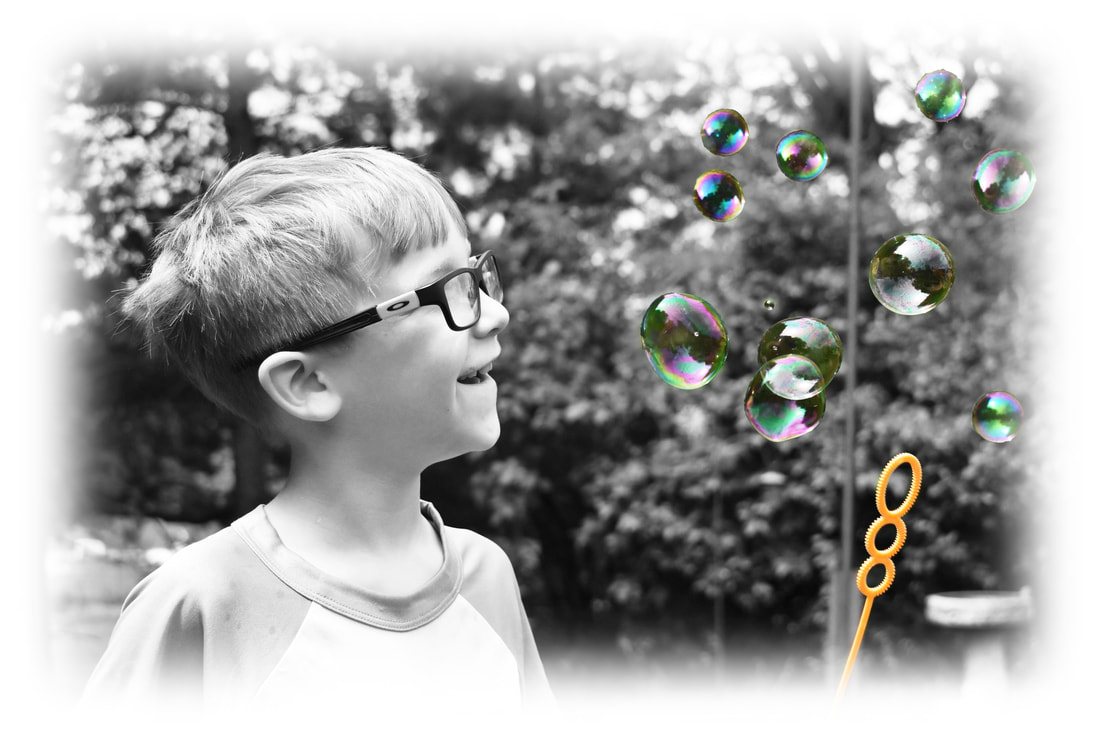
Welcome back! Now I am in digital photography 2. In this class I hope to further my knowledge of photoshop. I also want to better understand iso.  Unlike some other people in this class, I have already taken a photography class. Although it didn't do into as much detail I took two years of multimedia in middle school. This helped me cause I already had used most of the composition techniques and was familiar with them. Some photos I have taken while in multimedia. As you can see I didn't really take many photos that had either people or animals in them. This class has forced me to venture out and try new different types of photography. For example, some of the weekly photo assignment categories were animals and people. I also incorporated people into my other photo. Through these photos I have become less scared of portrait and animal photography. This class has also taught me how to shoot in manual mode. Many times when I was taking photos, if it was blurry or bad lighting I would take photos of something else. Now I know how to adjust the iso, aperture, and shutter speed in order to adjust the photo to the way I want it. This has also allowed me to take a wider variety of photos; such as freeze frame photos. Another thing that this class has taught me is photoshop. Coming into this trimester the most editing I would do to my photos was put a filter on it with my phone. Coming out of this class I am ables to both navigate and understand how to use photoshop. I especially like how quickly I can now edit a photo. My photo I edited the most (that wasn't a photoshop assignment) was photo 7. In photo 7 I loved the way how my brother was looking up at the bubbles. However, in the original photo the bubbles were out of frame. To fix this I edited different bubbles from my other photos into this photo. I then noticed that the lighting in the bubbles and of the picture were different. To hide this I decided to make everything but the bubbles and the bubble wand black and white. This is how it turned out. I still have a lot to learn about photography. This is why I am taking digital photography 2 next year. I had a really fun time in this class and have learned so much. This class has taught me so much about photoshop and how to use it. I know have photoshop on my own computer and I am planning to continue learning over this summer. I am very much looking forward to next year.
|
AuthorEvie Lemm ArchivesCategories |


 RSS Feed
