|
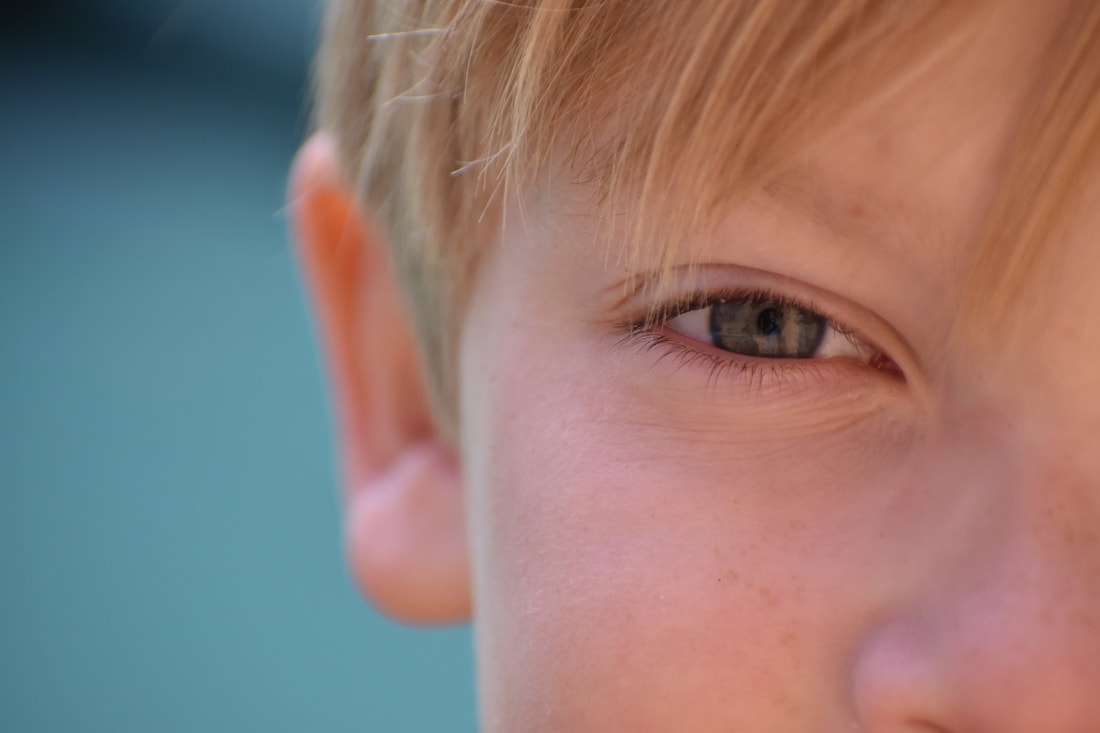
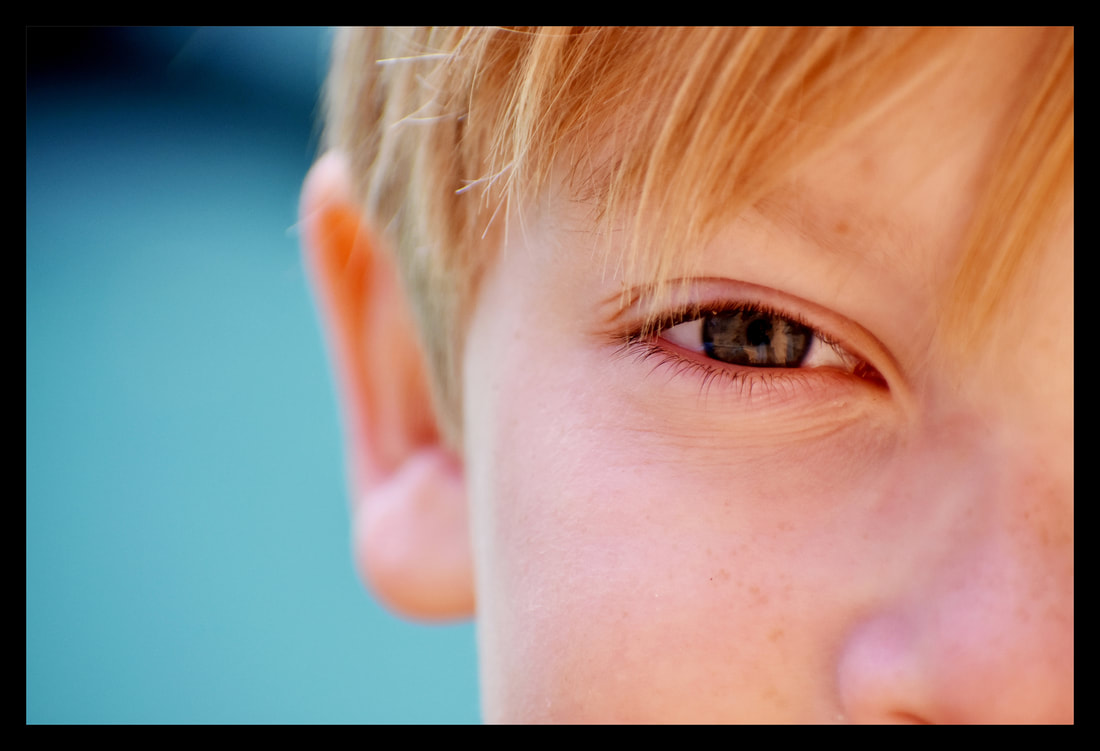
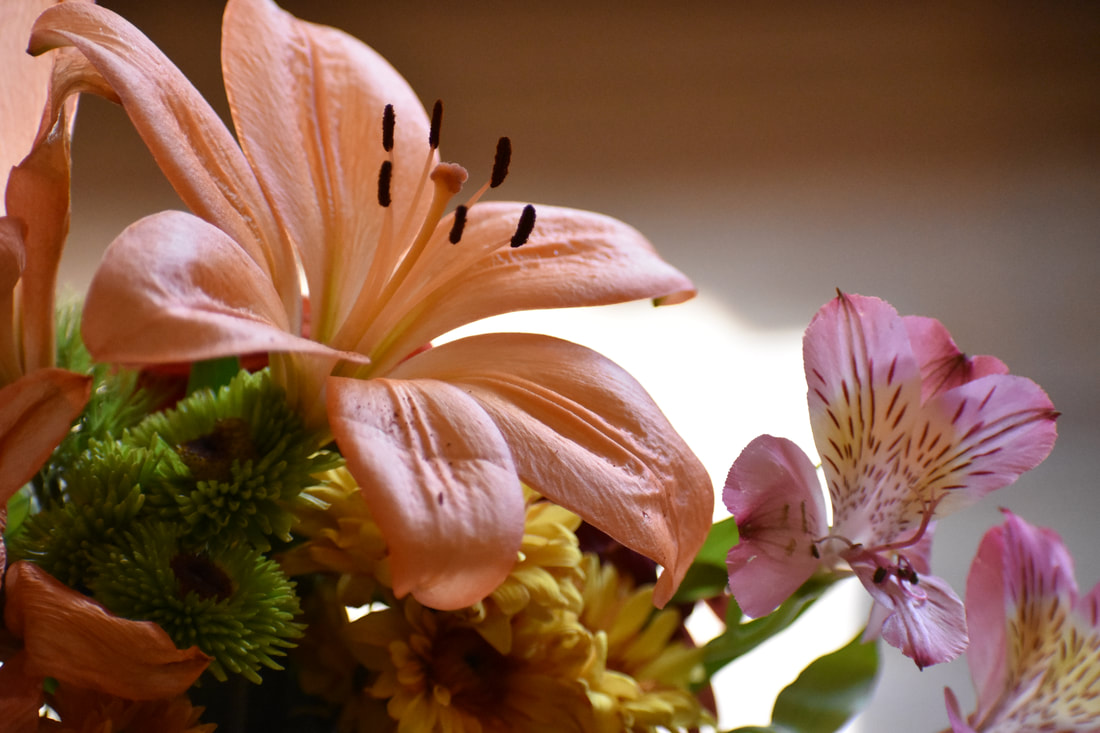
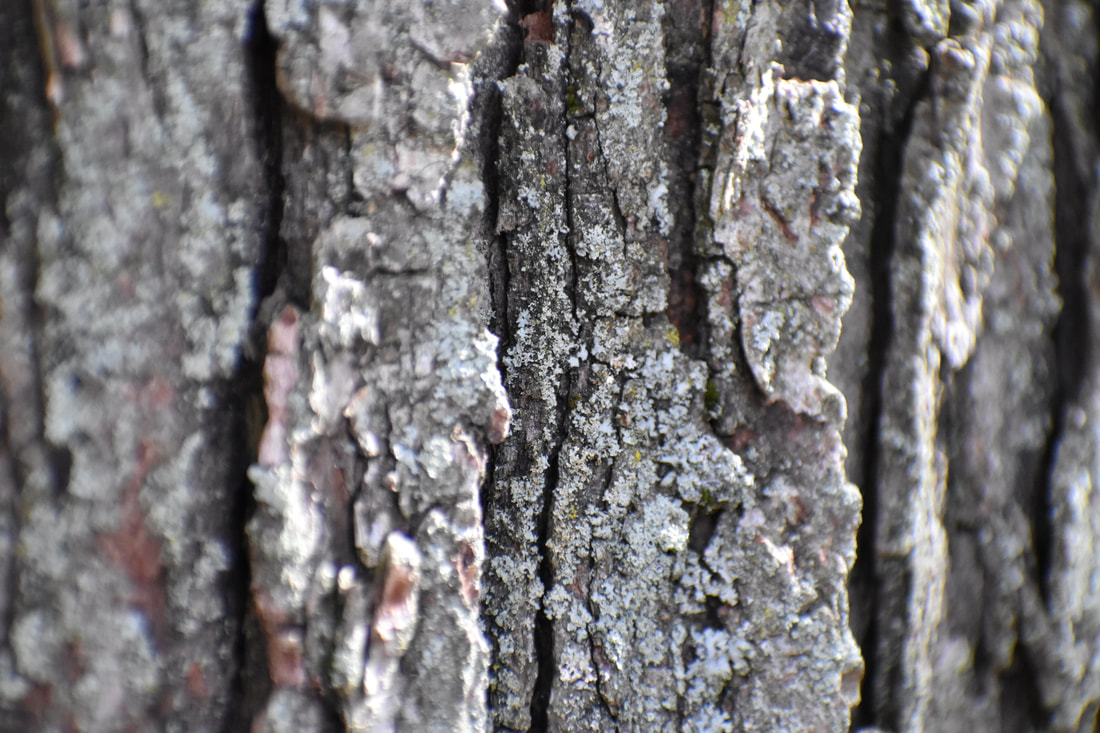
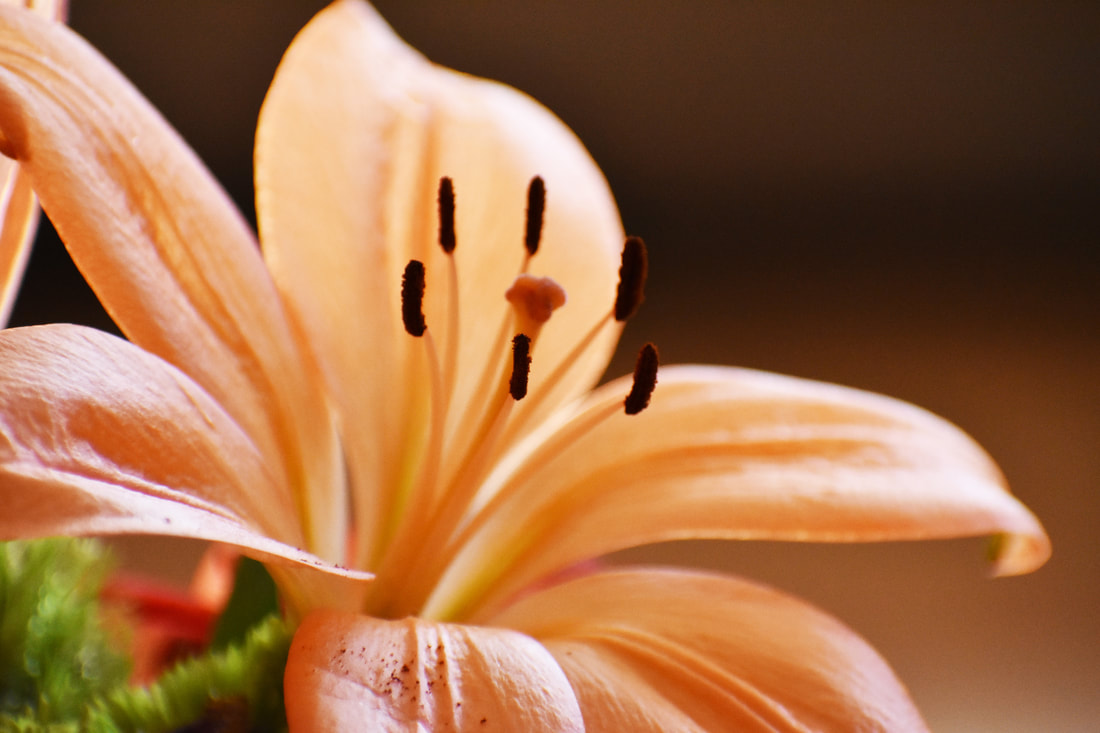
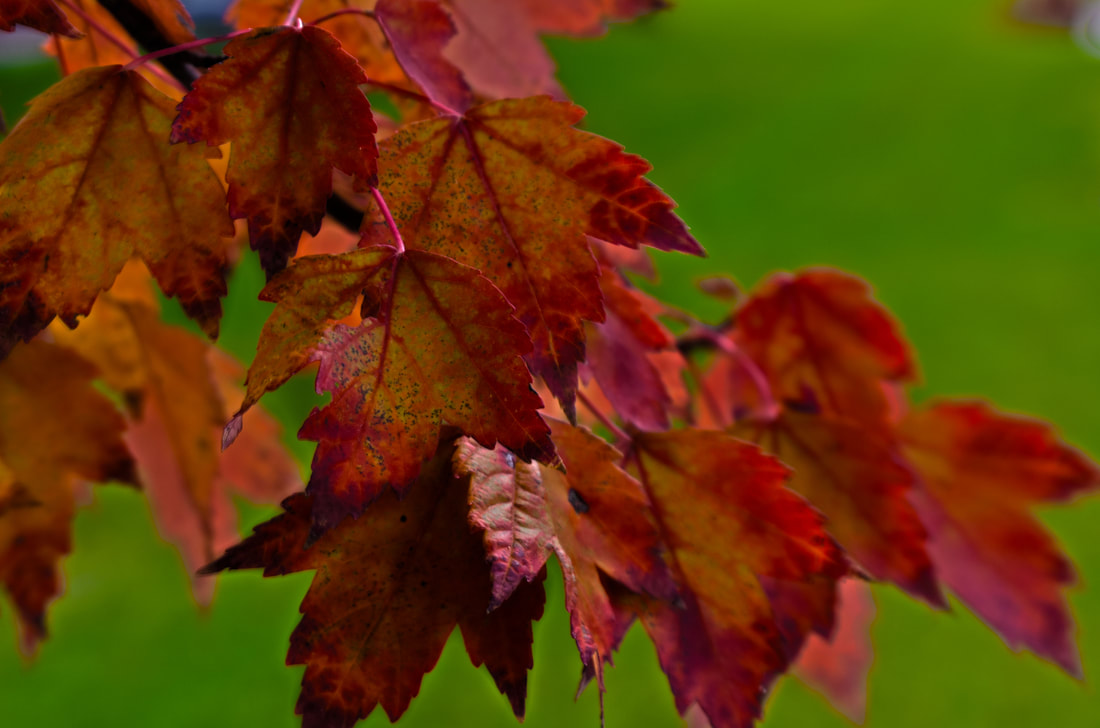
For this photo we had to take at least 50 photos of a topic of our choice. I chose the topic macro. After we took our photos, we edited them and added a frame. Then we turned them in and blogged them.
From this assignment I learned how to adjust more than just the brightness of the photo. When editing this photo I adjusted levels also. When I took these photos I also learned more about how to use a zoom lens. I still want to lean more about how adjusting the levels in photoshop can effect the photo.
0 Comments
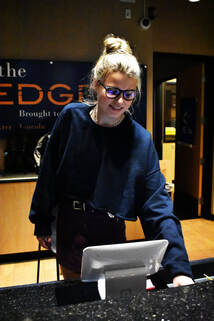
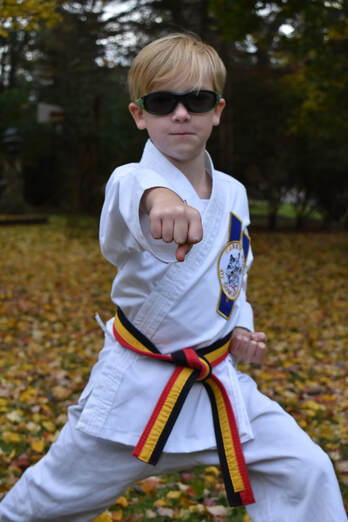
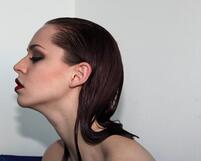
For this assignment we took 4 photos of our selves and 2 photos of others. For the self portraits, we had to set up the camera settings, but we could have someone else take the photo. For the environmental, we had to take portraits of people in their "job" setting. We then edited them, turned them in, and blogged them. These are my environmental portraits:
These are my self portraits From this assignment I learned how to make the layer mask less obvious. I did this by adjust ing the opacity a lot. I still want to improve on making sure my photos aren't too grainy. I want to also try taking less candid portraits and more natural portraits.
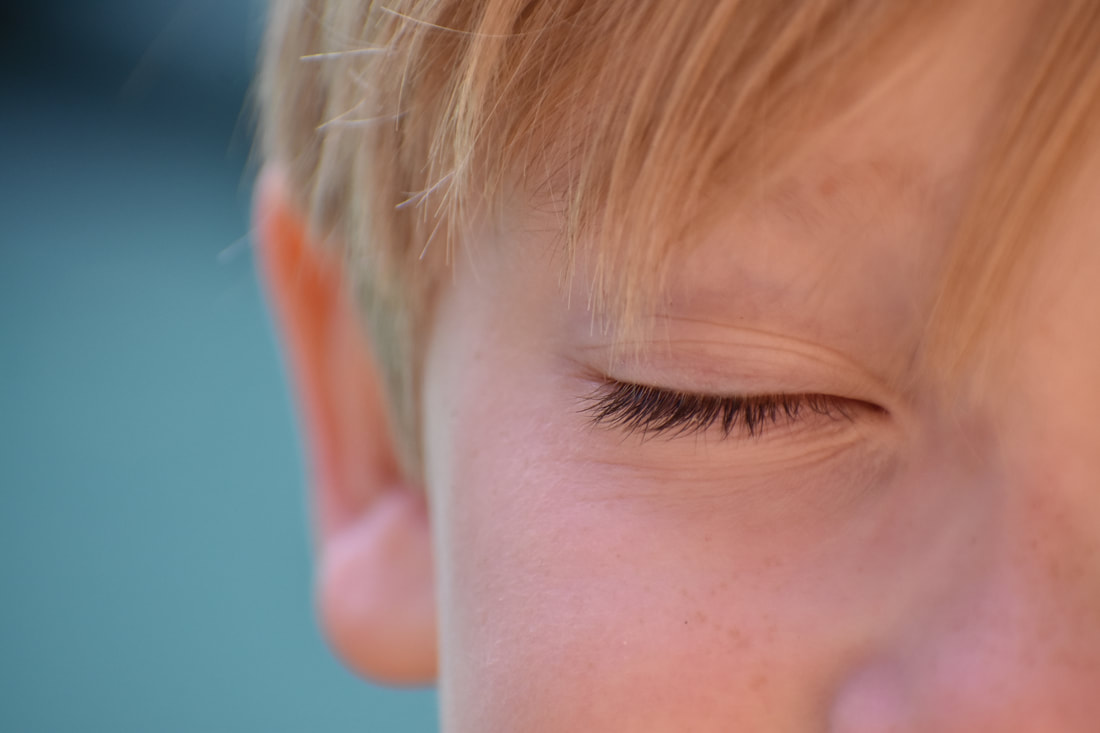
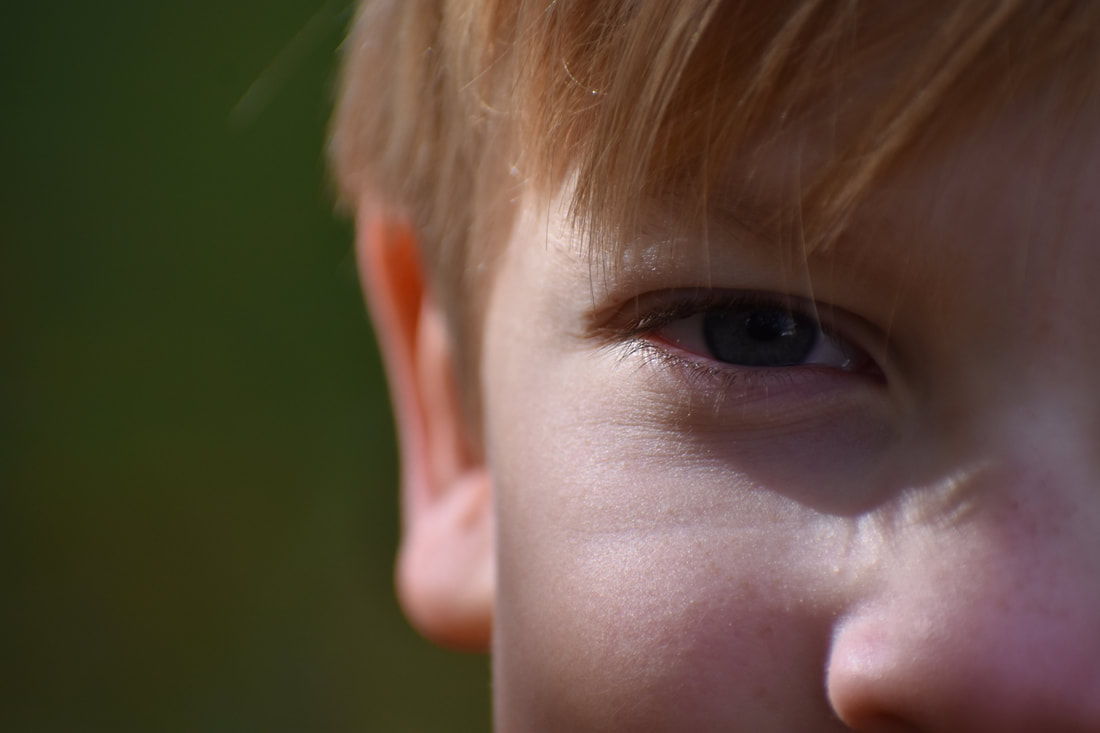
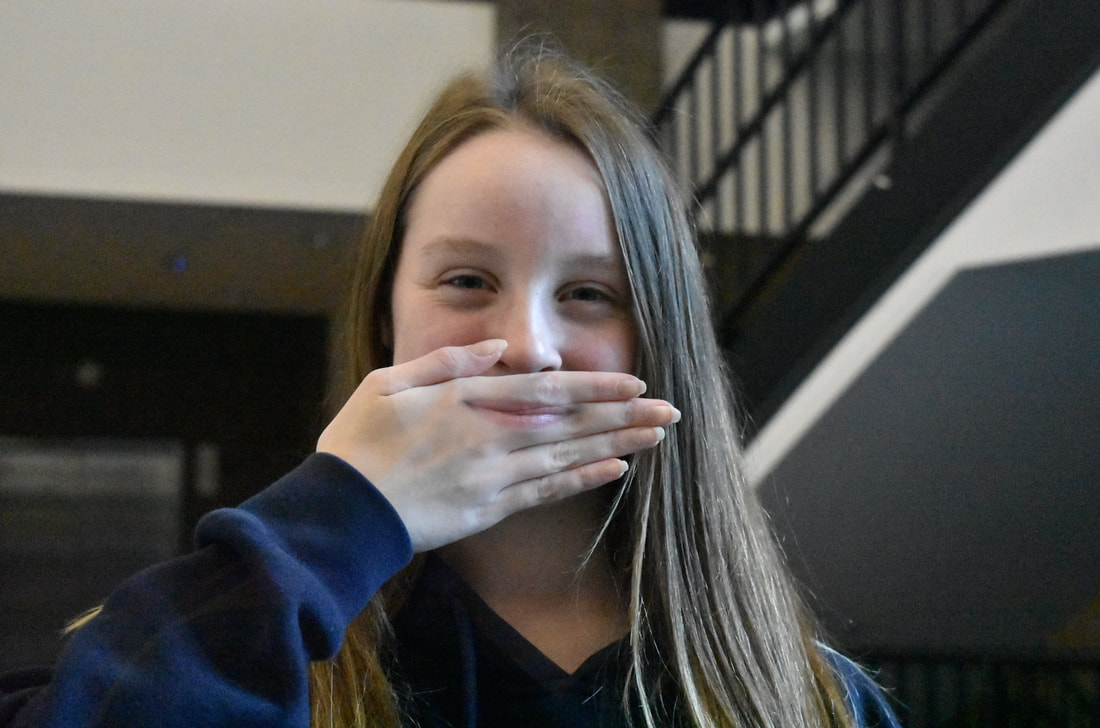
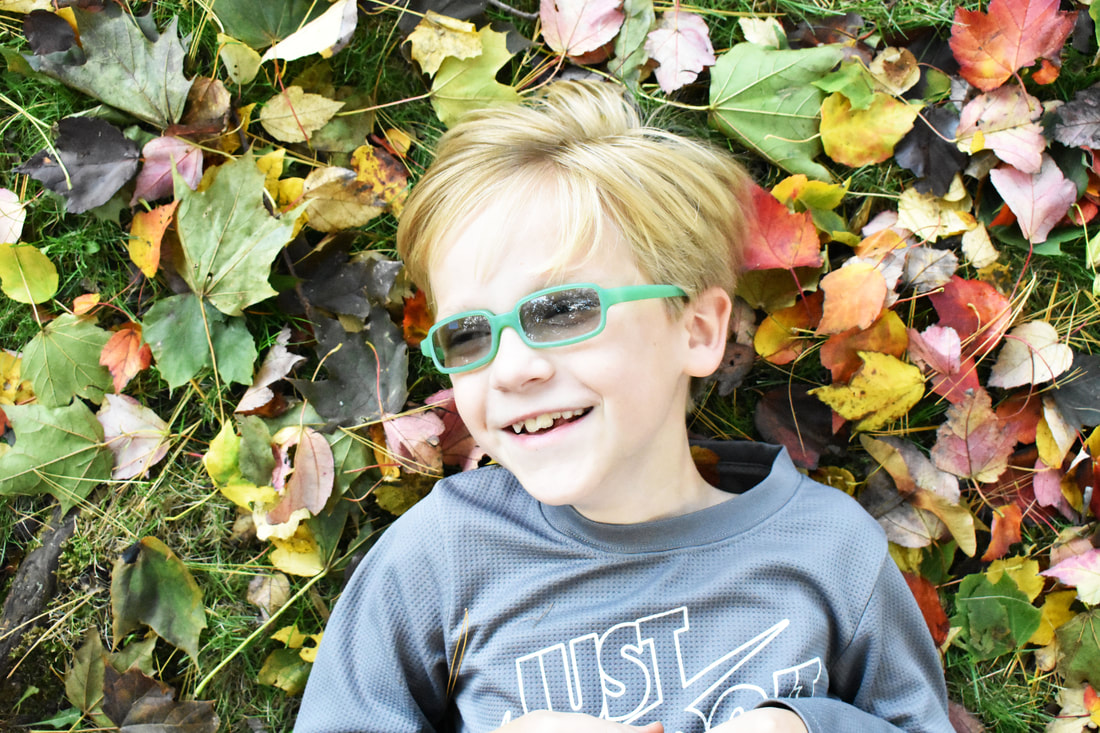
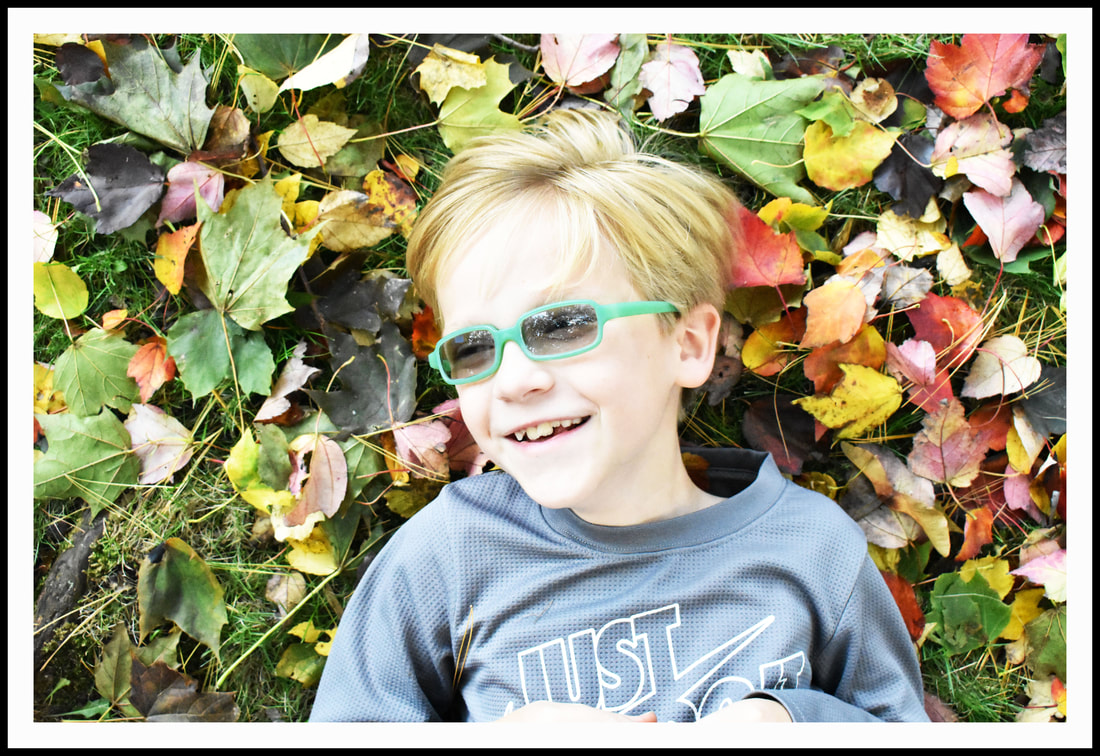
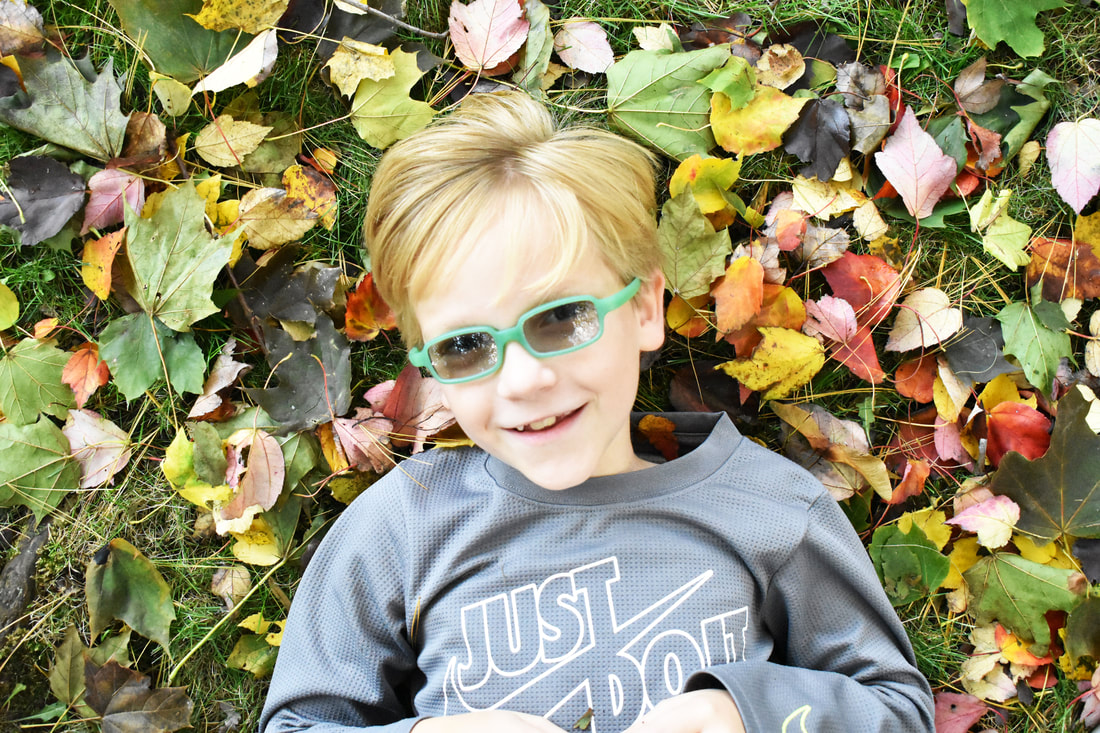
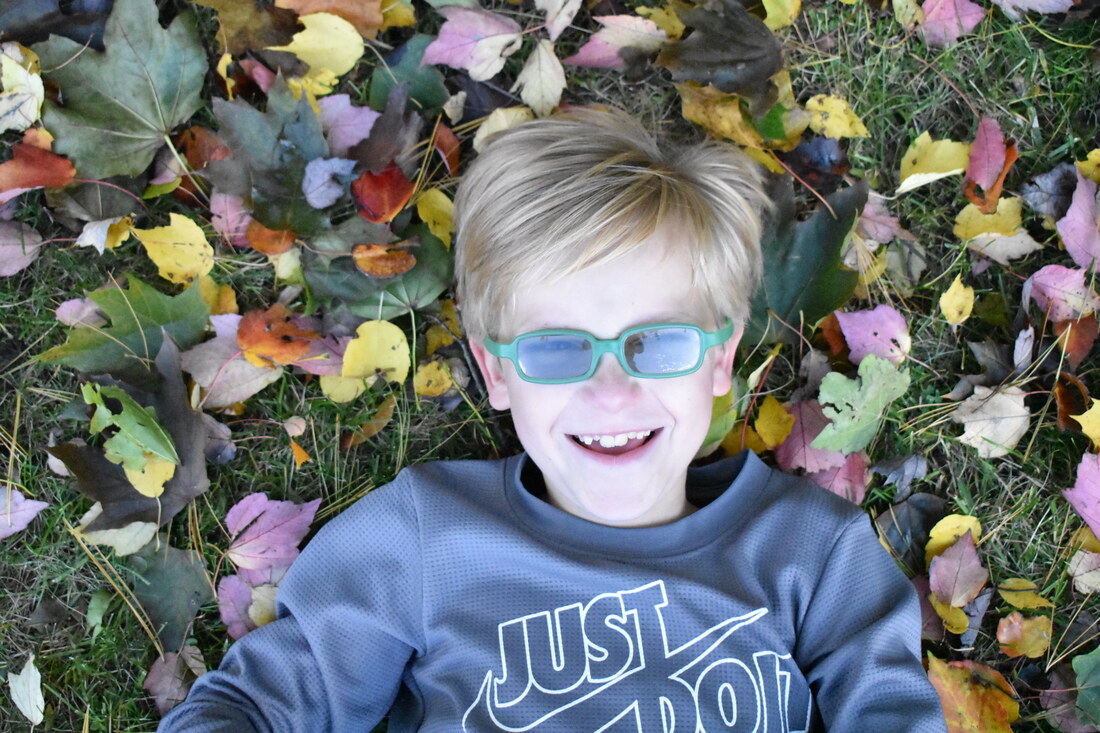
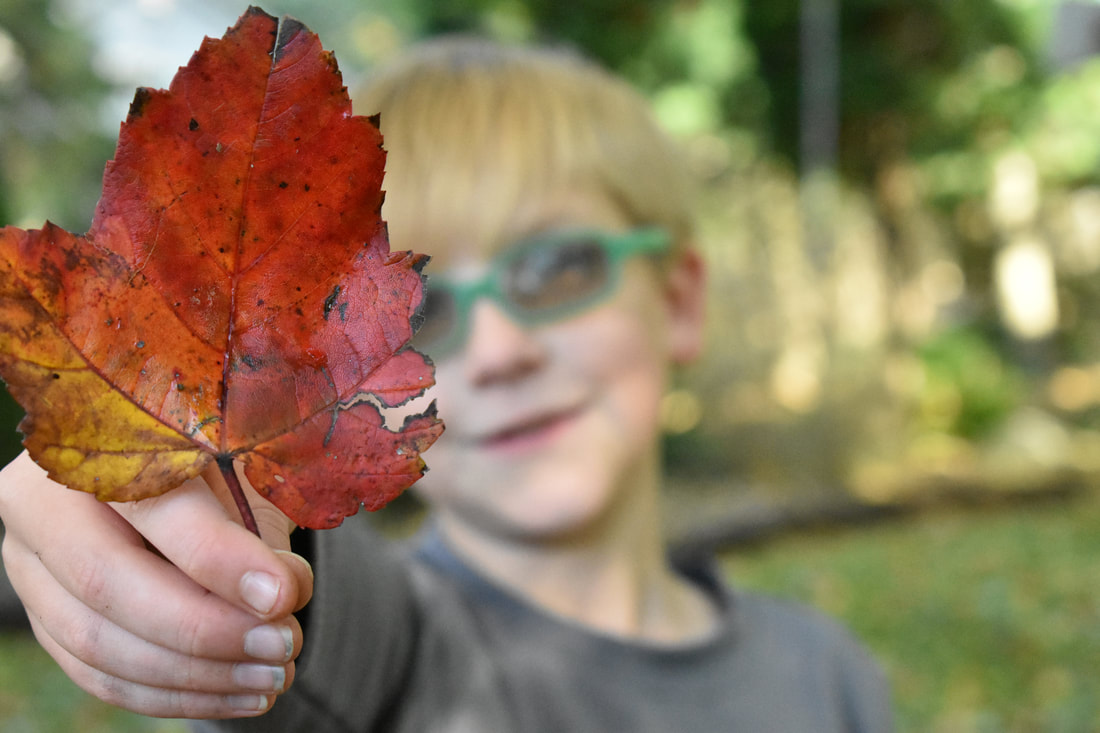
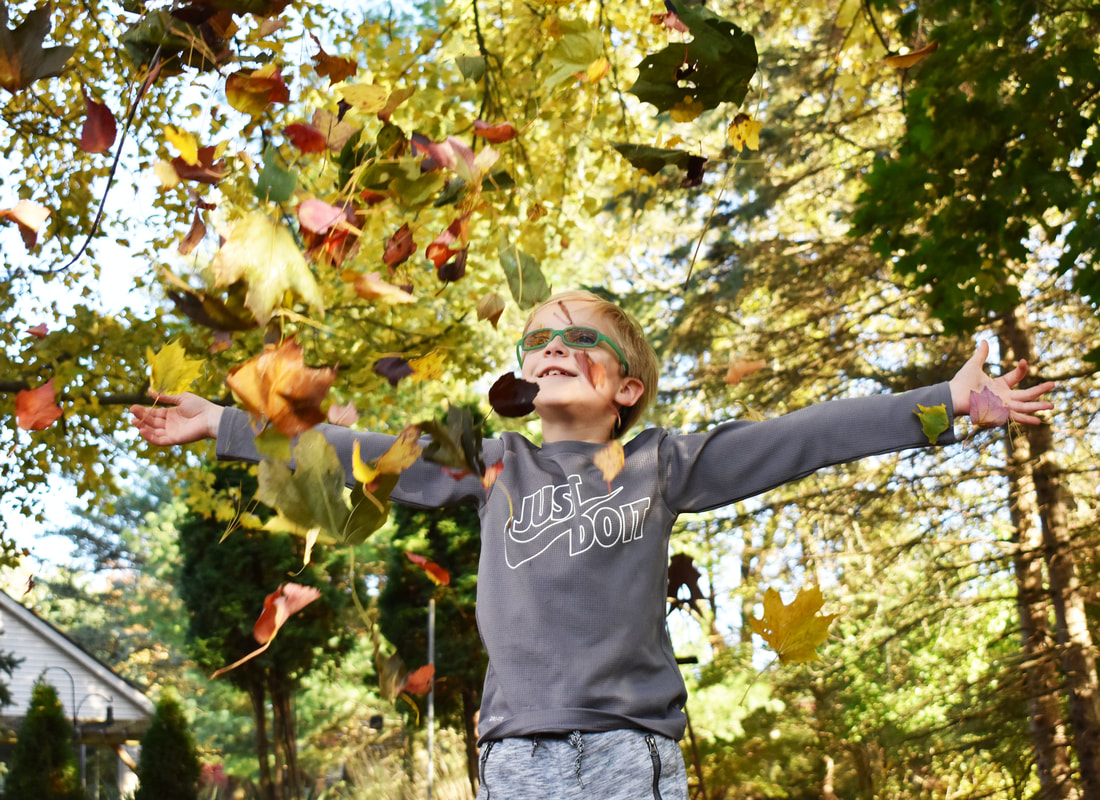
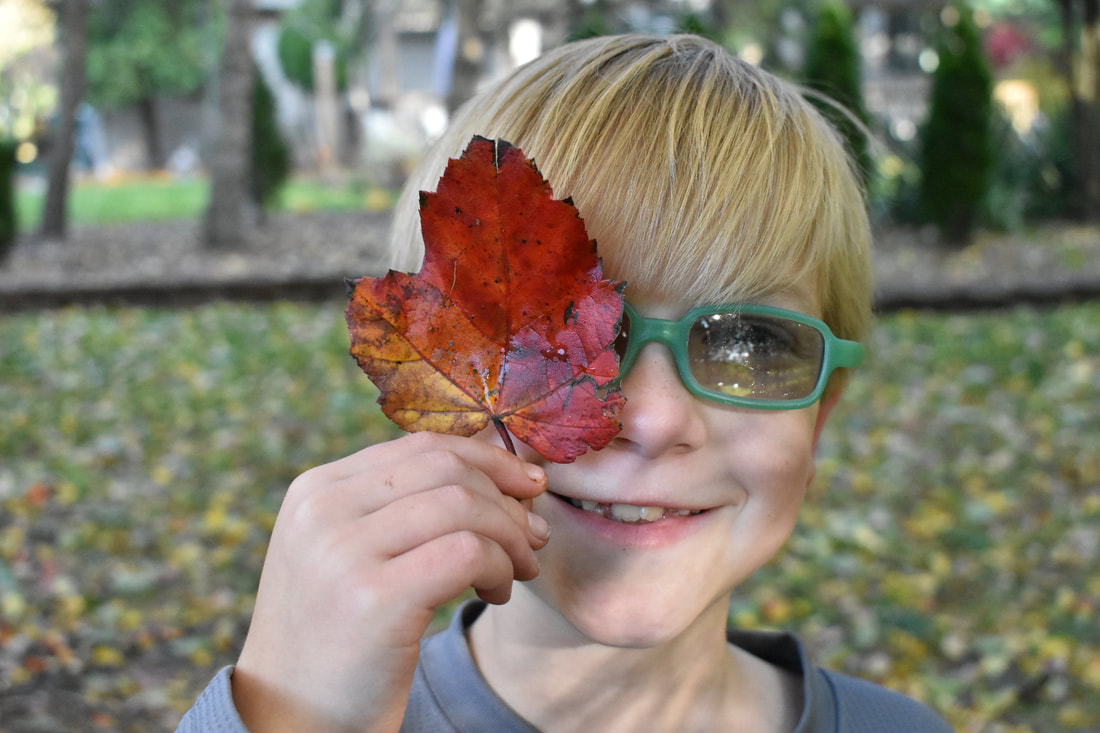
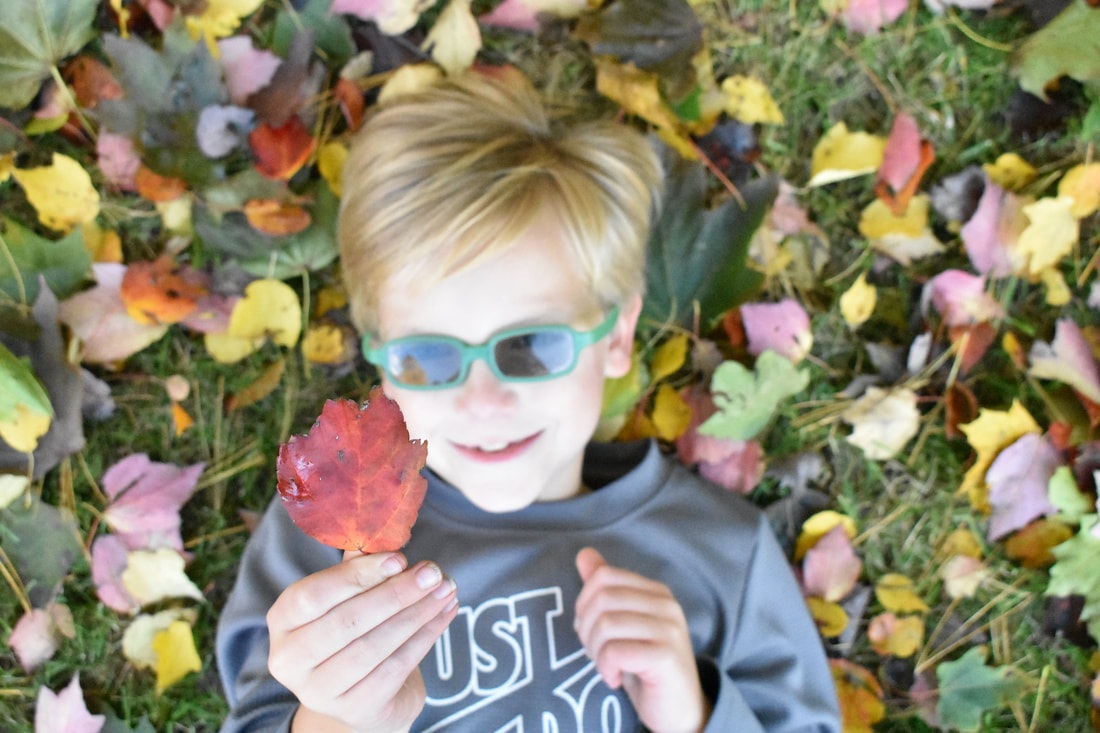
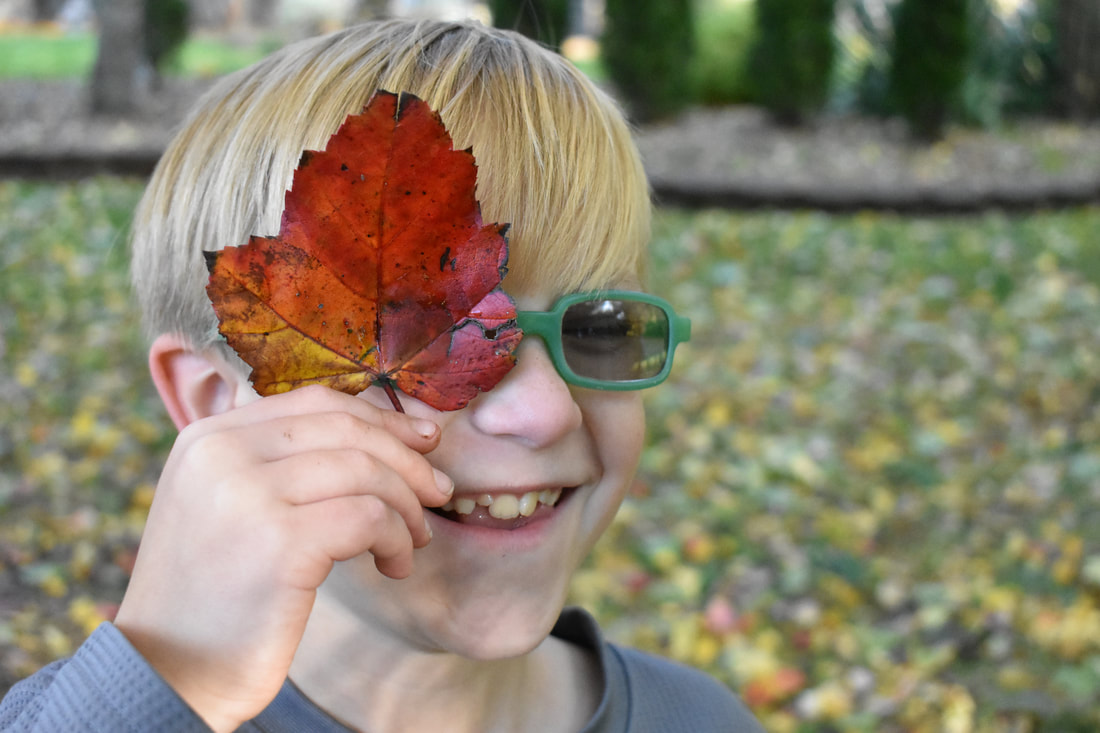
For this assignment, we had to choose a photo category. We then took photos that applied to this category. After this we found the best photo and edited it. This meant that we added a frame and any other needed edits. Finally, we blogged them.
From this assignment, I learned how to make the subject look more natural. I did this by saying certain words that my brother finds fun in order to get him to laugh. I still want to work on editing my photos by adjusting more than just brightness and contrast.
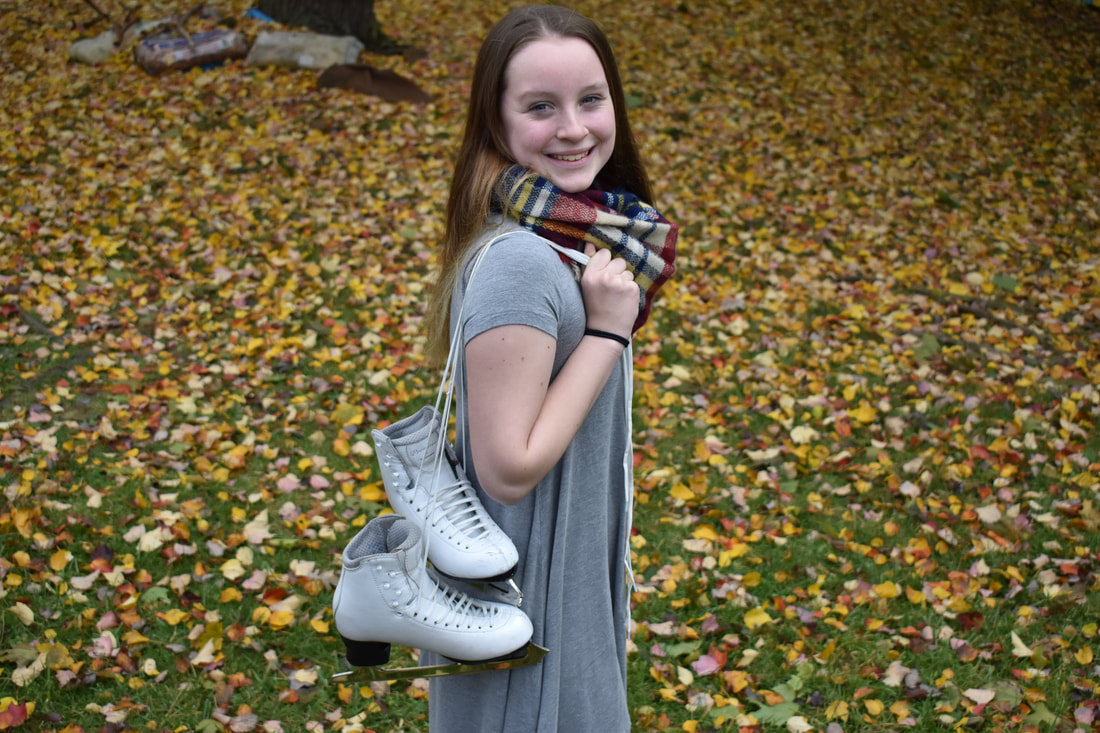
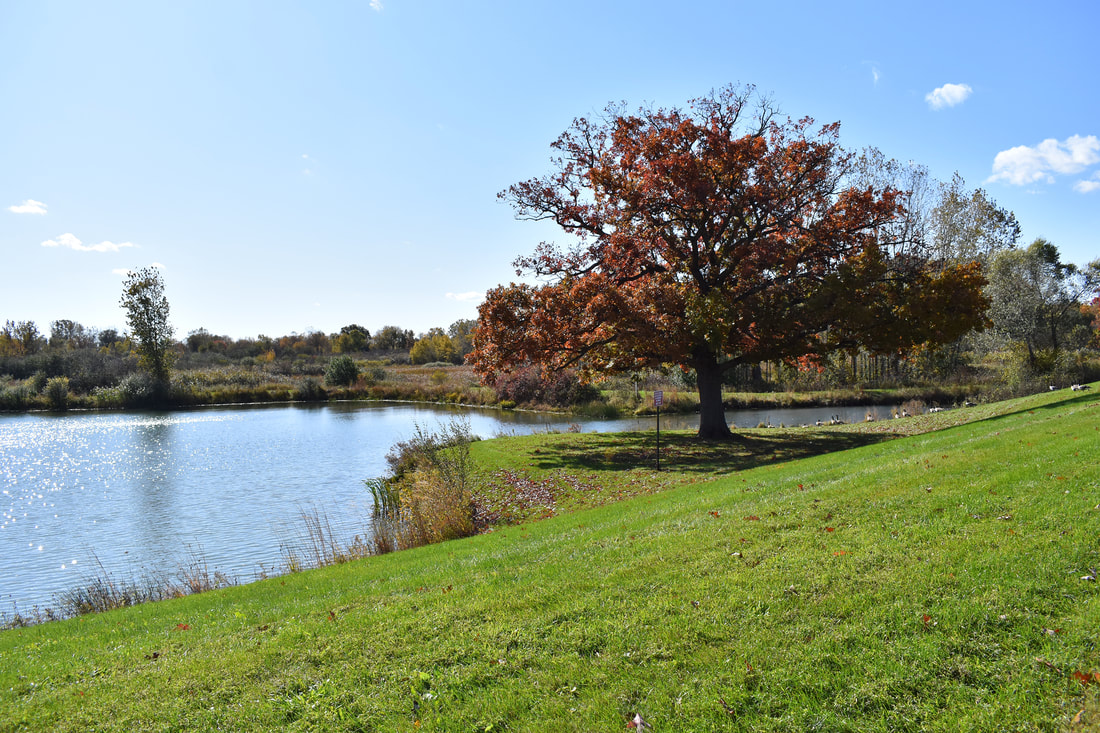
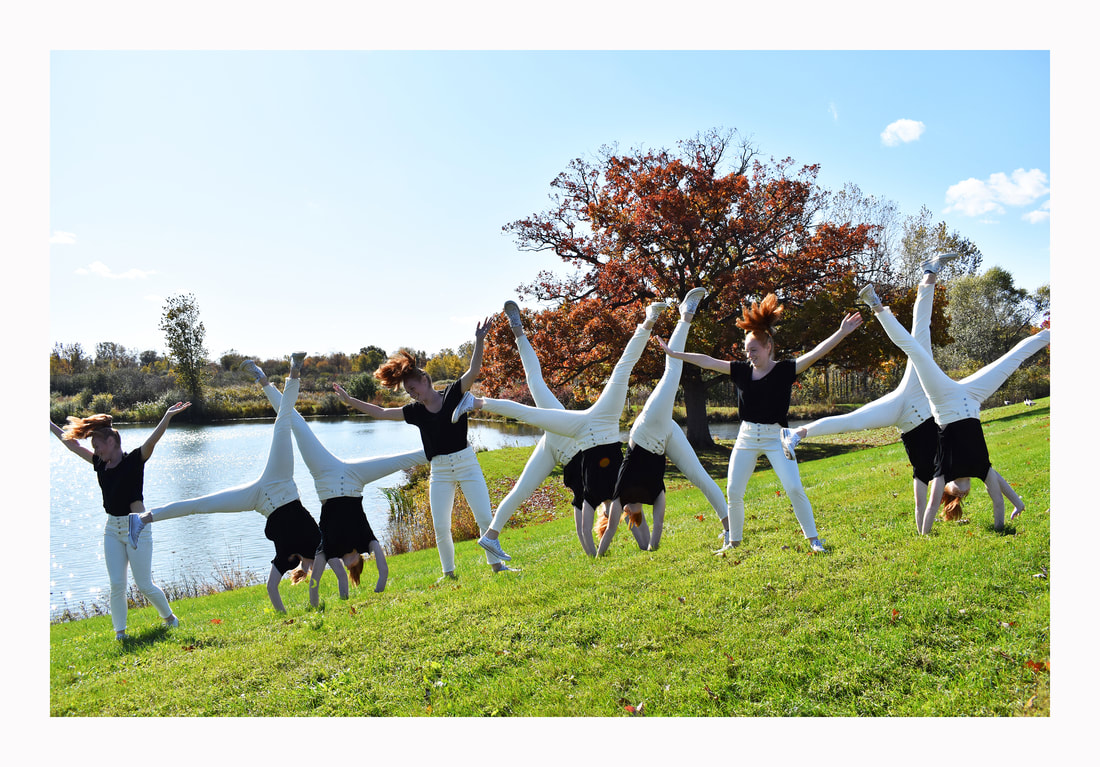
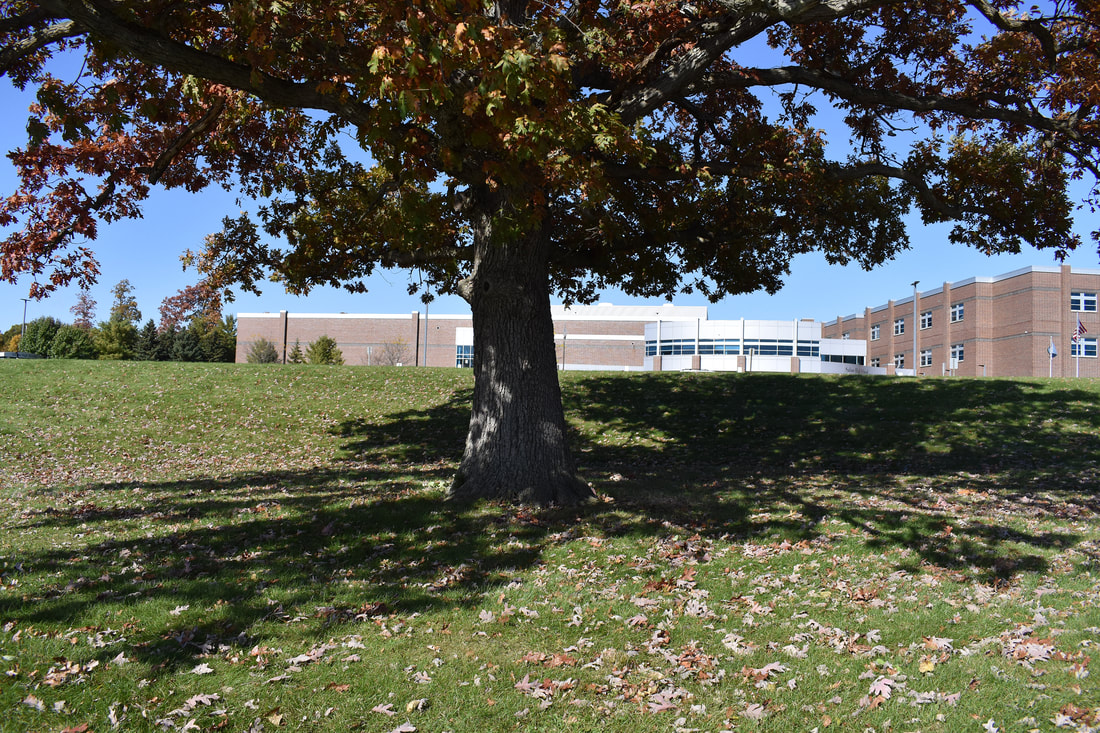
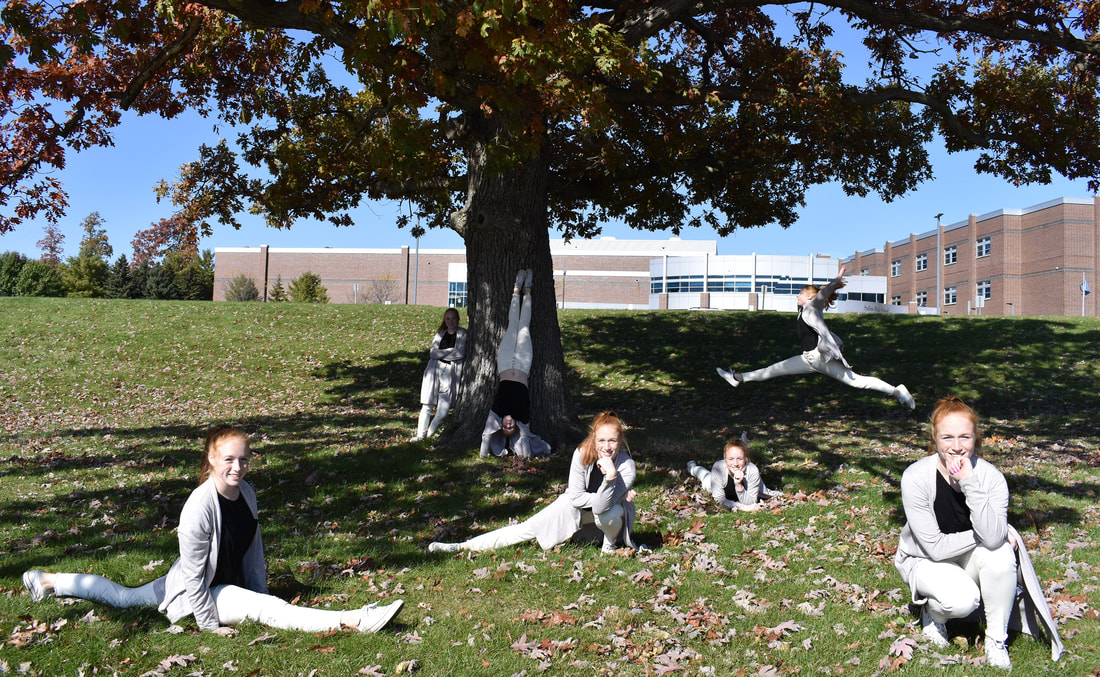
For this assignment, we had to use photoshop's layer mask tool to edit the a group of photos to have multiple of the same person. While taking the photos you take one picture of the background and then a bunch with the subject in different spots. for Chrono you dot he same, but your subject is doing something continuously such as skipping, walking or jumping.
From this assignment I got more familiar with how and why we use layer masks. I also learned more about hot to adjust the position of the pictures. I still need to get more comfortable with shutter and aperture. Next time, in order to challenge myself, I want to take a picture of someone doing a jump on the ice,
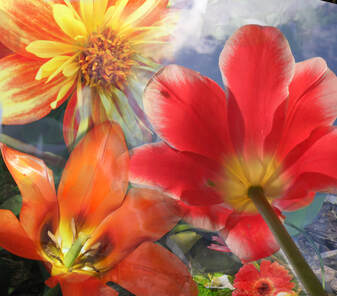
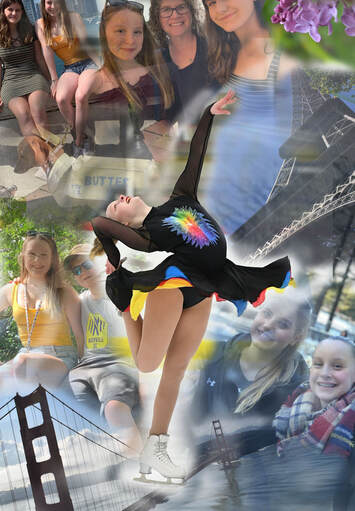
For this assignment we had two make three different collages. One collage was of us, one was a combination of different flowers, and one was us 15-2o years in the future. To make these collages we used the layer mask tool and would adjust the opacity in order to blend them. after we finished all three collages, we turned them in and blogged them.
During this assignment, I became more familiar with the layer mask tool. I learned how to adjust the opacity in order for my photos to blend nicely. I still need to work on having the photos look like they were meant to be together and less out of place.
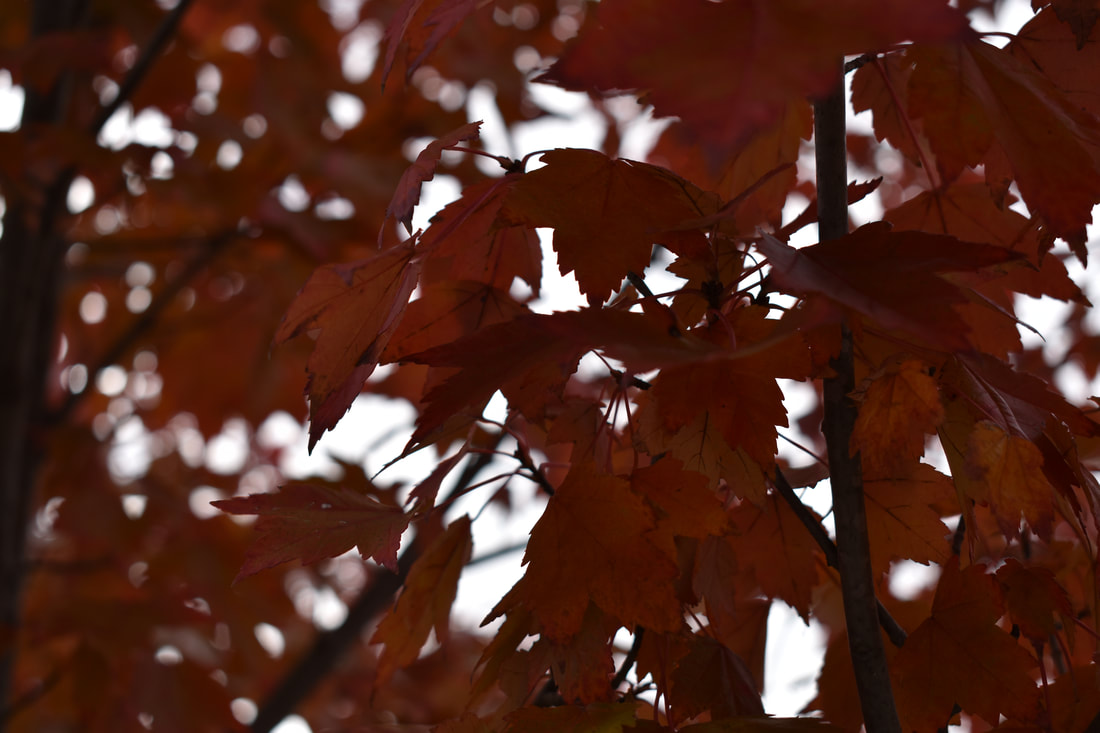
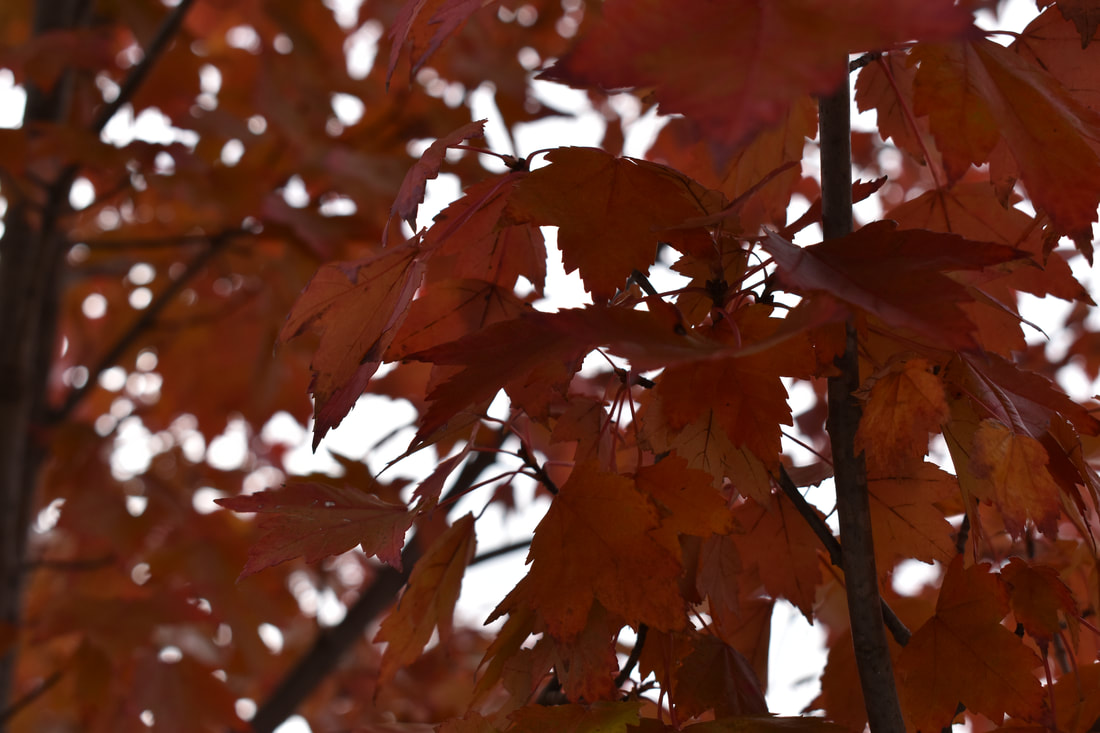
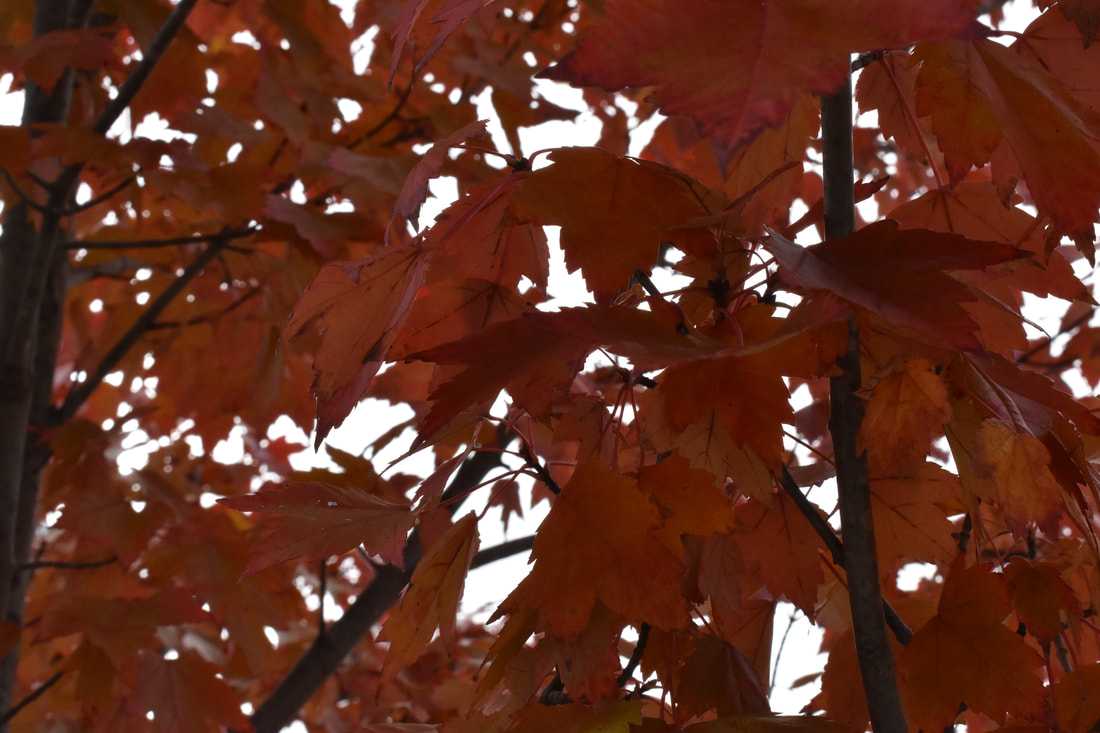
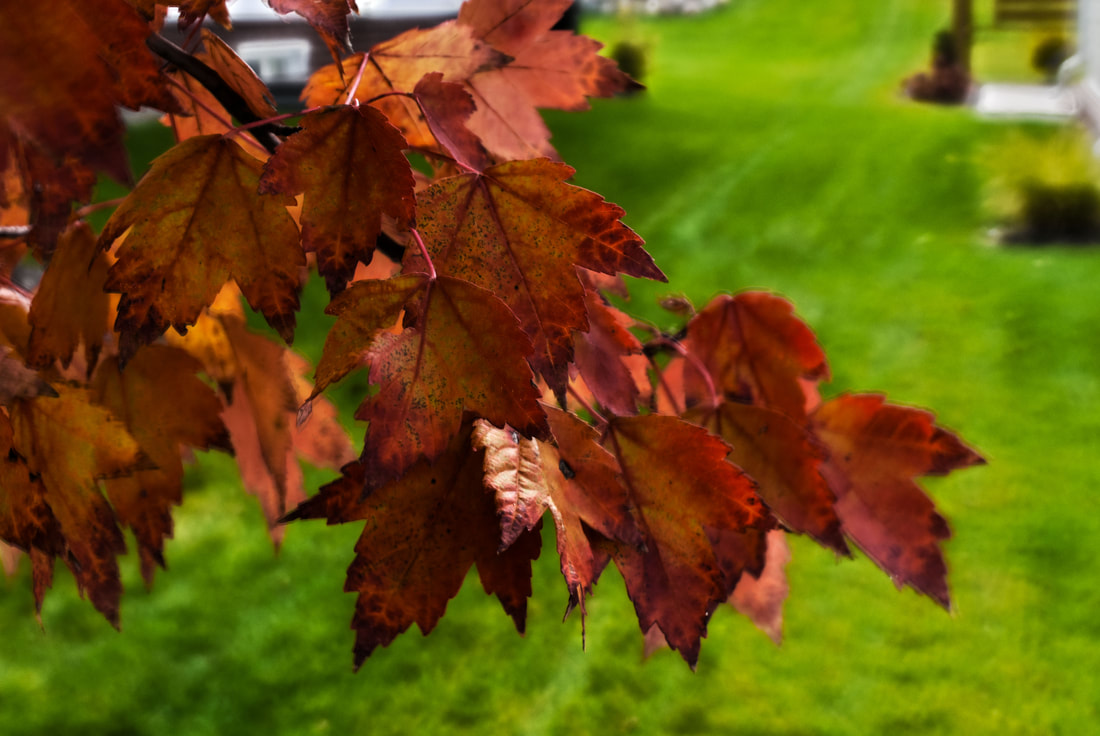
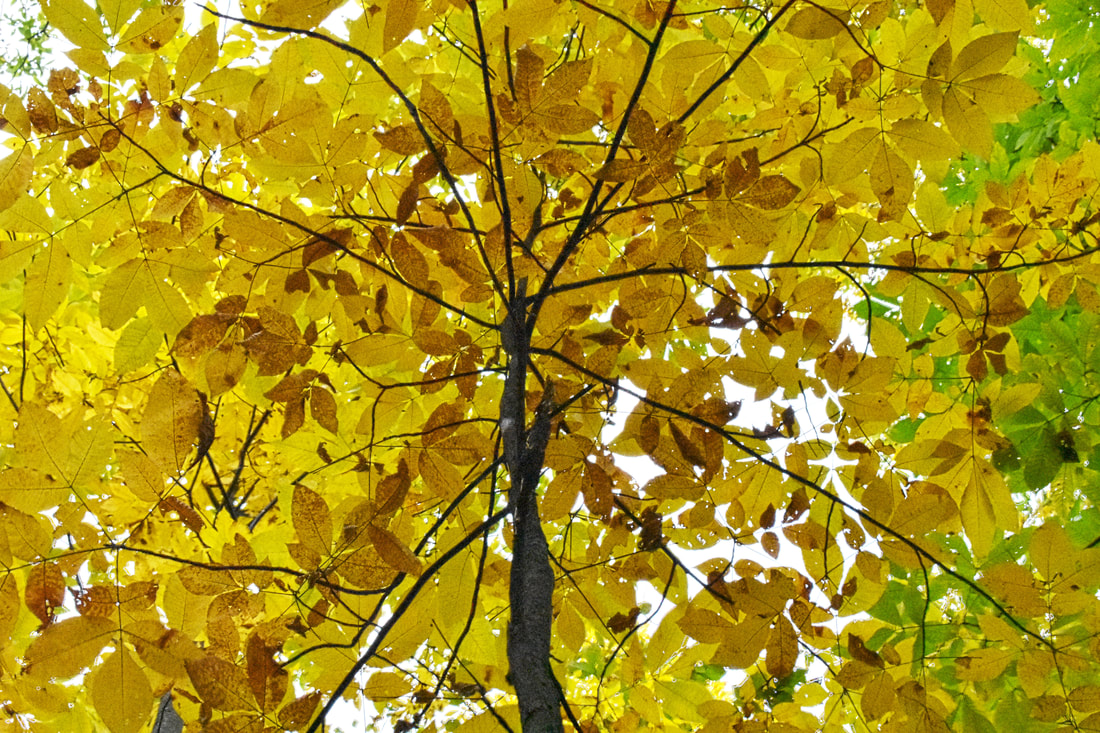
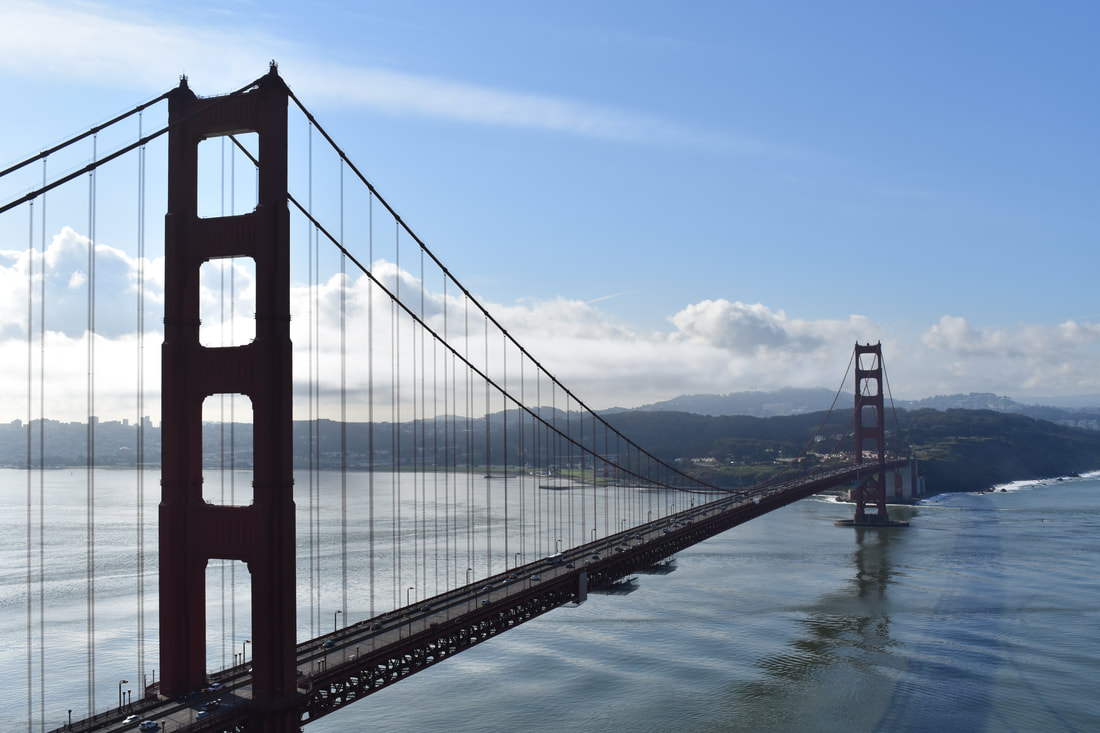
For this assignment, we had to choose a category from the list. I chose the category HDR. This is where you take three different photos. Each photo is taken of the same thing, but you adjust the aperture and equal amount higher and lower from the "normal" photo. We had to take about 50 photos that fit our topic. We then chose our best photo and edited it. In addition to combining the photos to make a HDR we had to add a frame. Then we blog it. These are the three original photos before I edited them:
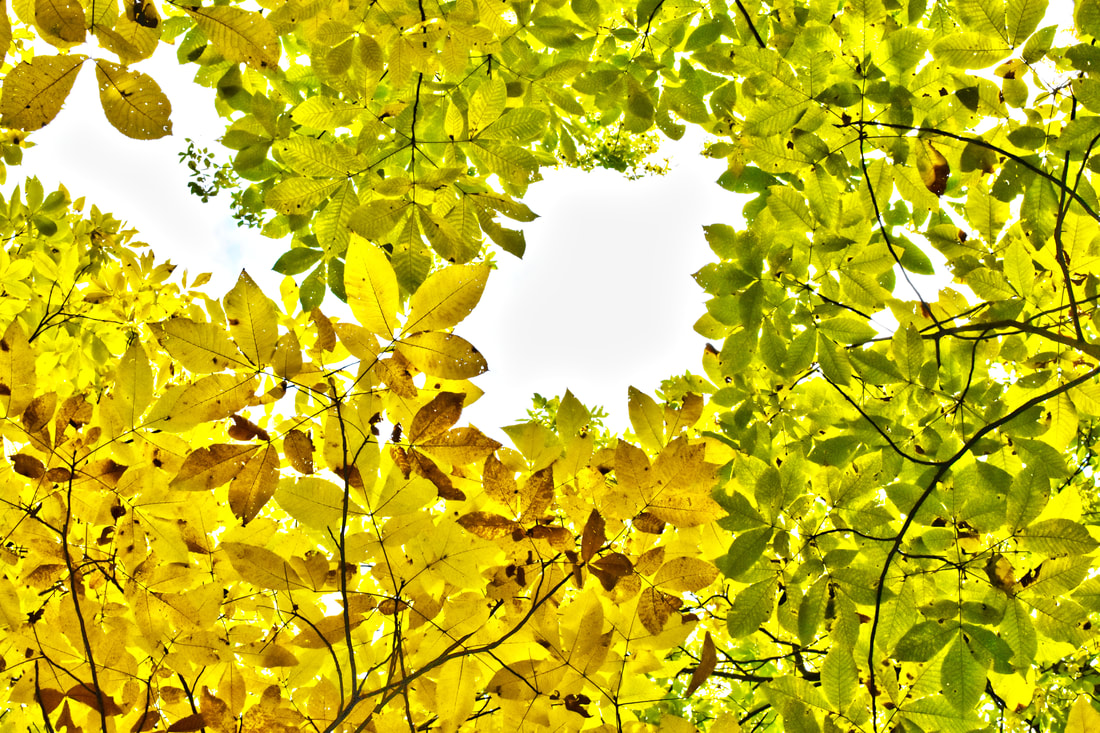
This is after I edited them: 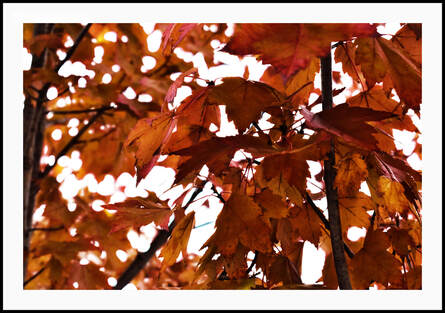 Here is my 5 next best HDRs: During this assignment, I learned the importance of a tri pod. It allows your photos to remain clear when you combine them using HDR merging. i also learned how to better adjust my aperture. What helped me was to take a photo that was to dark and a photo that was too light and then find the middle and take the normal photo. This allowed me to make sure I have both a dark and light photo while still being an equal amount of f-stops away from the normal.
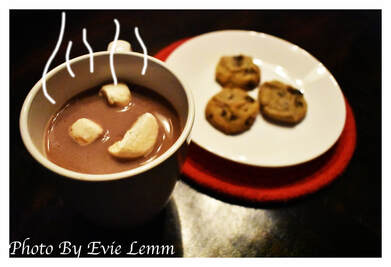
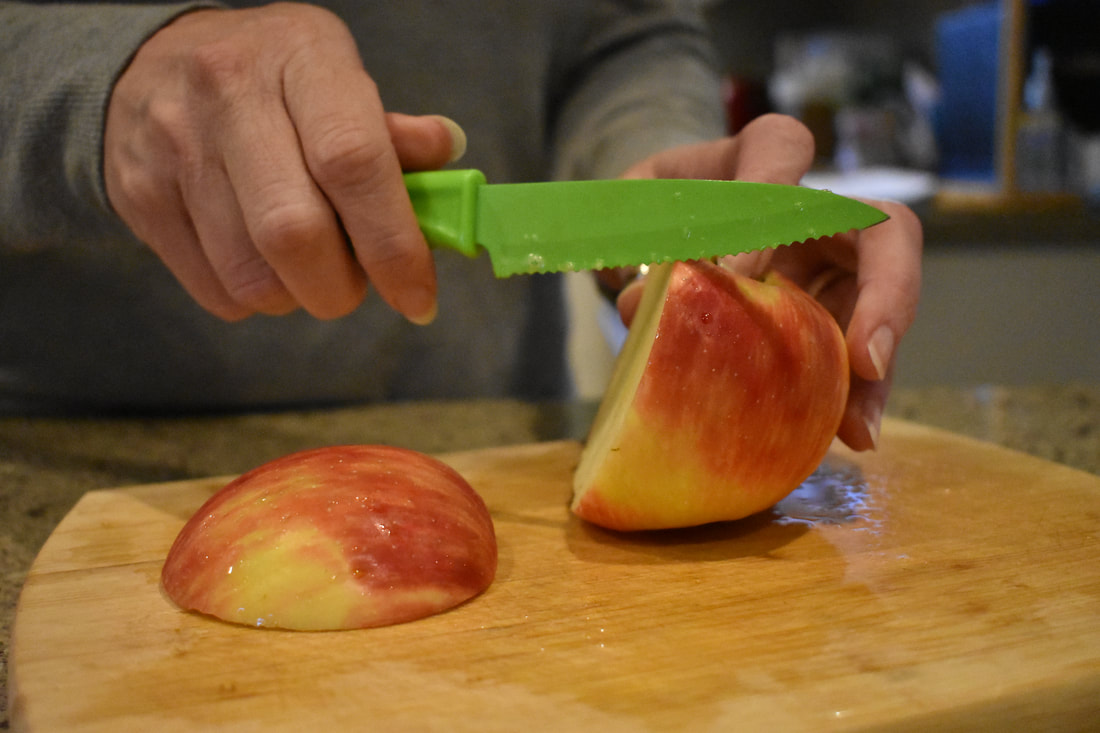
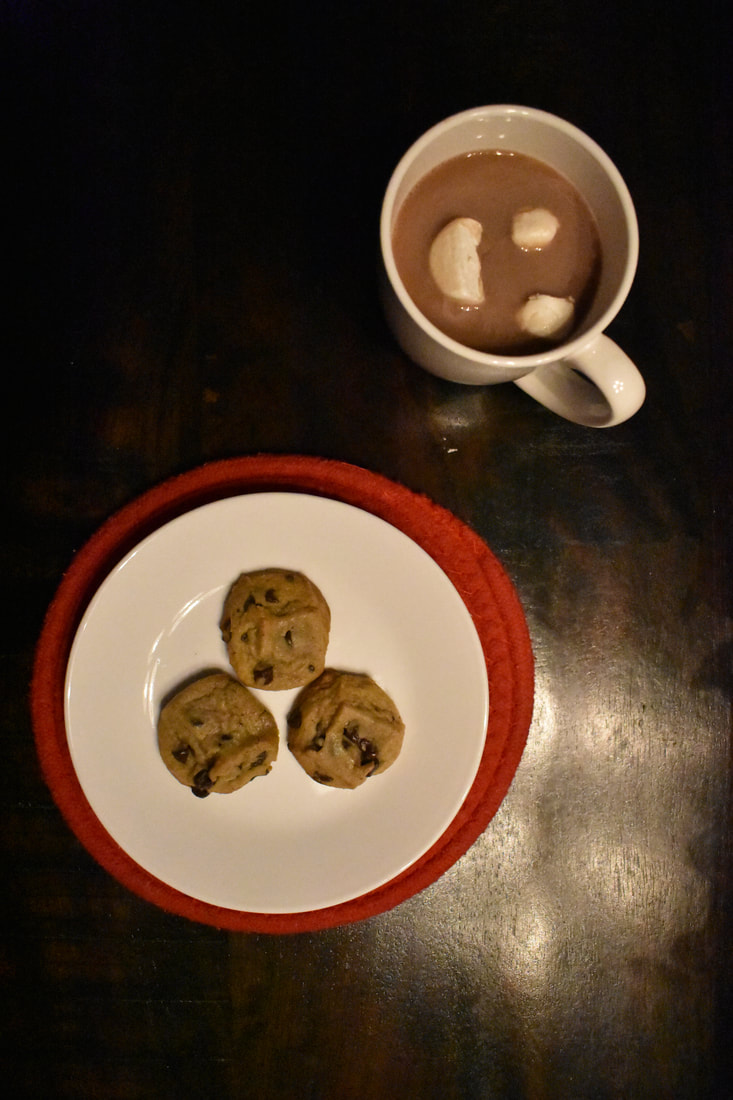
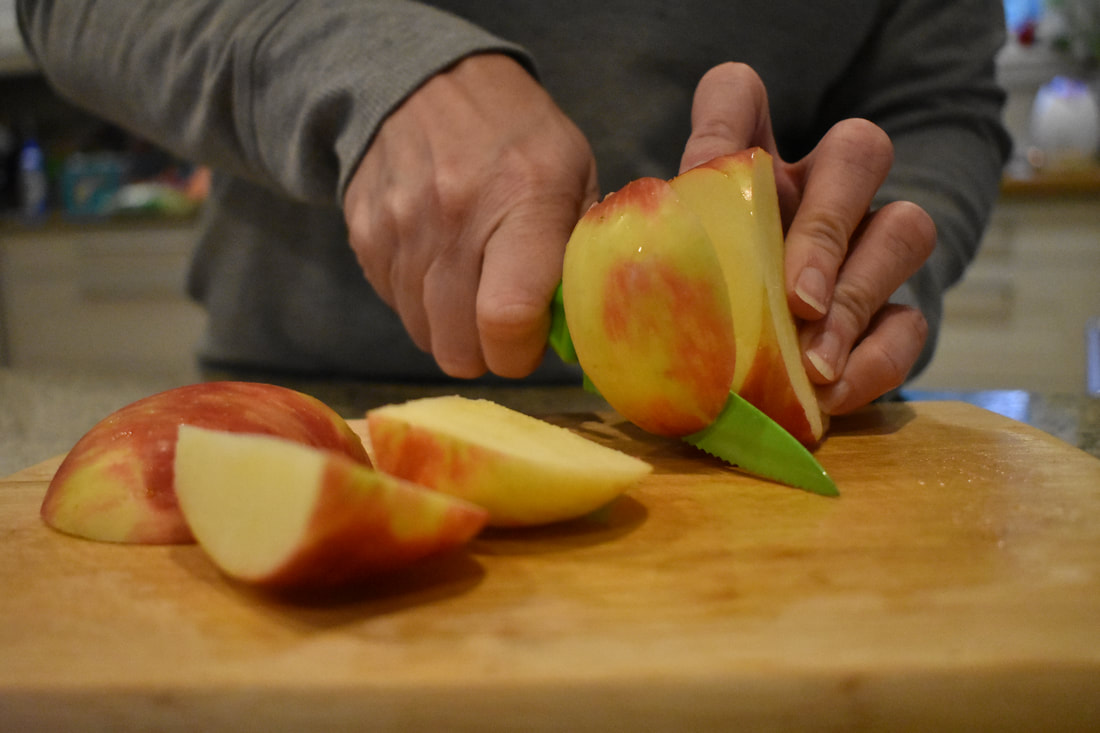
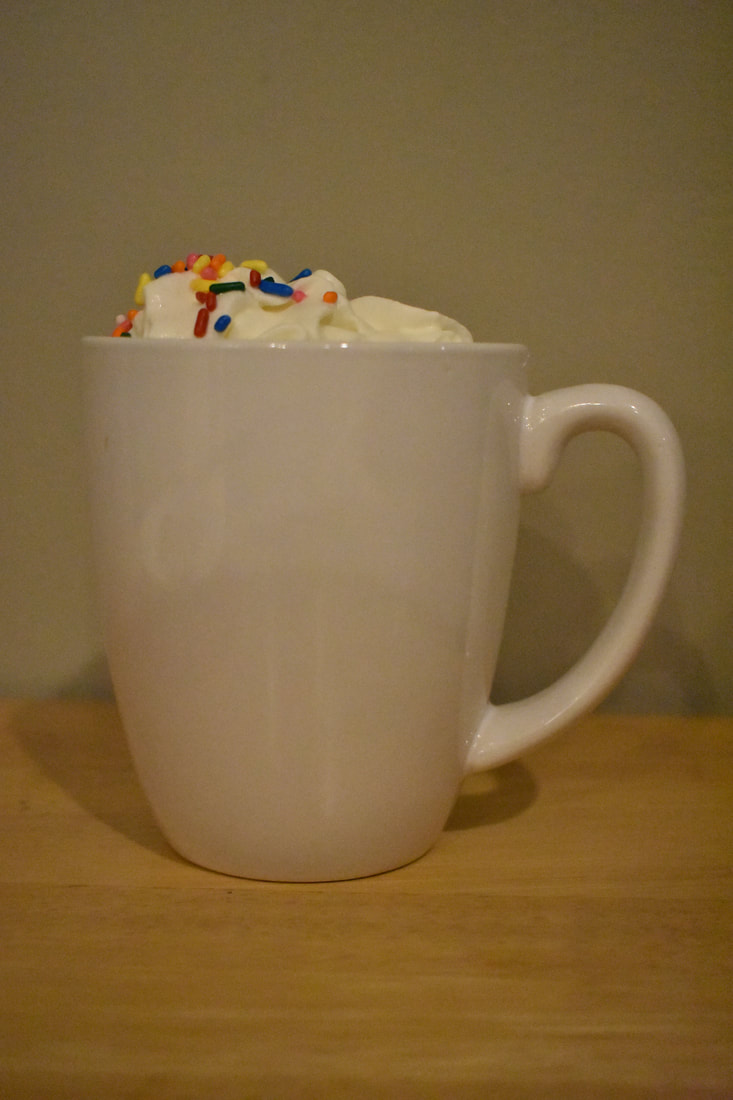
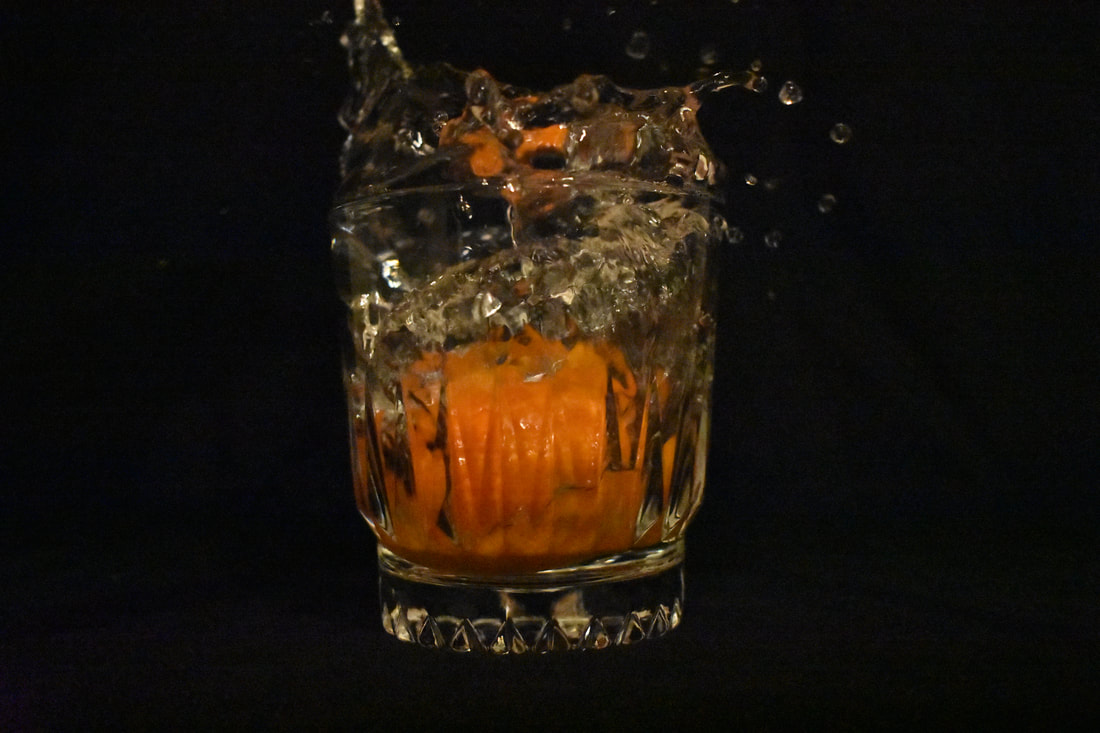
For this assignment, we had to choose on of the topics of photos and take photos for that topic. I chose the topic food. After we took the photos, we chose our best one and our 5 next best. Before turning our best photo in, we edited it and added a frame. Finally we posted a blog post about it.
My next best Photos: While doing this assignment I learned the importance of lighting. I was taking these photos at night. This meant that I needed a big shutter speed and a big aperture so that your photo didn't turn out black. However, some of the photos I wanted to take required a small shutter speed, such as the dropping fruit into water. This made it difficult to take these photos and made them blurrier then I wanted. Next time I will take the photos when it is litter outside so that I am able to use a faster shutter speed.
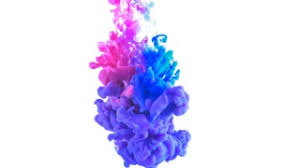
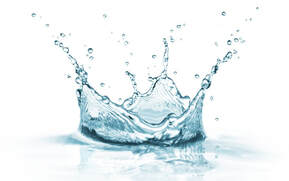
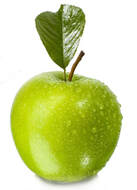
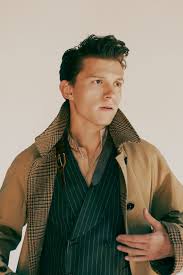
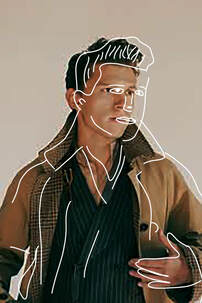
For this assignment we went on the internet and followed different photoshop tutorials. We were all required to do a polaroid edit, but we got to choose the other tutorials. Depending on how hard the tutorials were we were supposed to make 2-4
After: 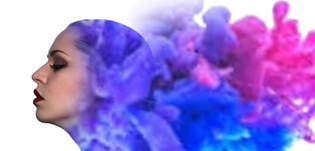
After: 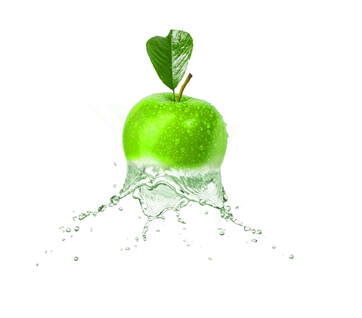
While doing this assignment, I got more experience with layer masks. I used this in every tutorial. Next time I want to use more of my own photos. This will let then end result be less pixelated. I also want to try a harder tutorial that might take more time. Something I can improve on is using a color match tool because the colors of green in my apple tutorial do not match.
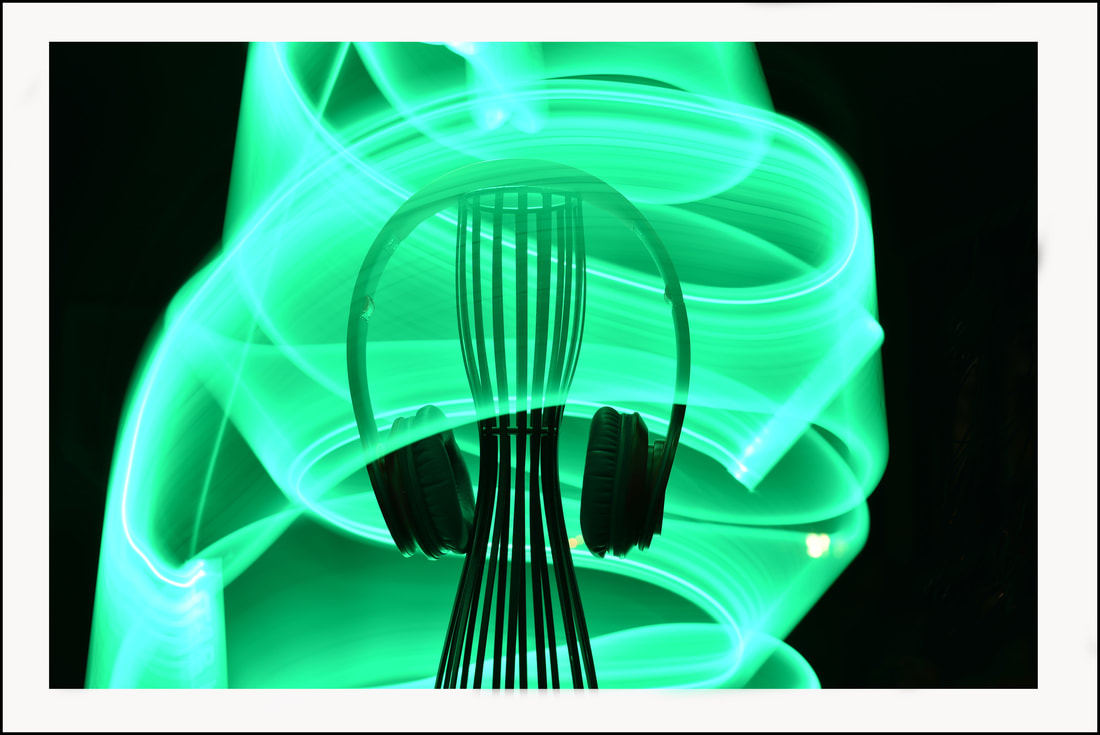
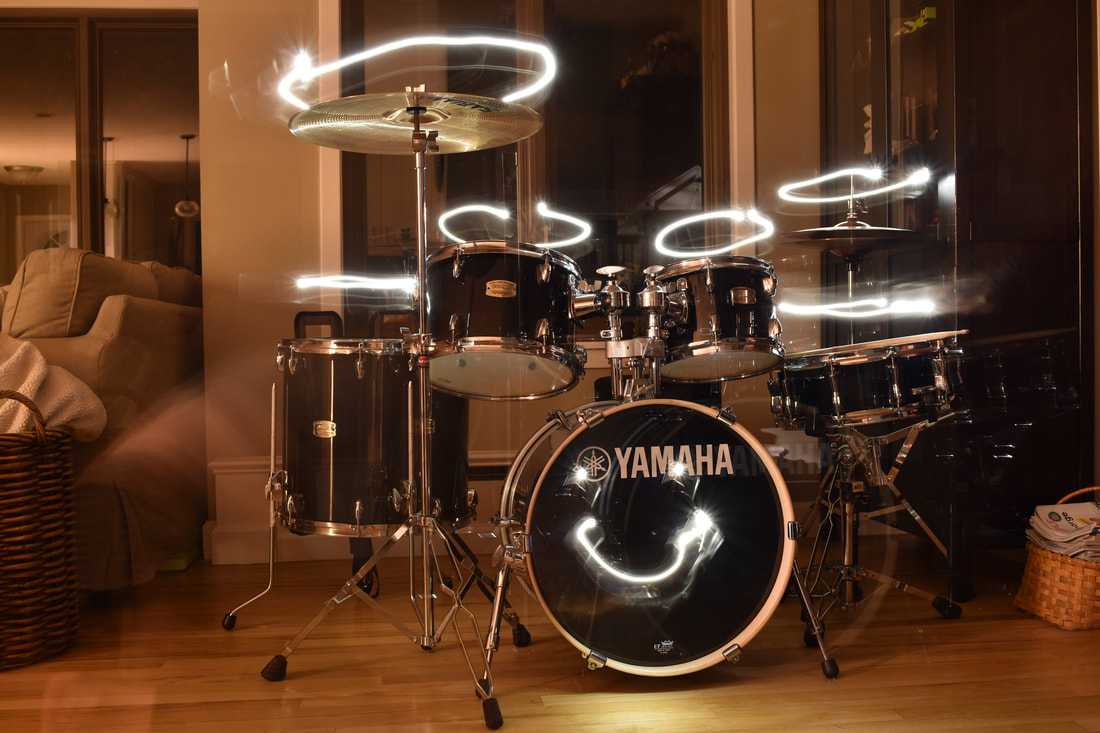
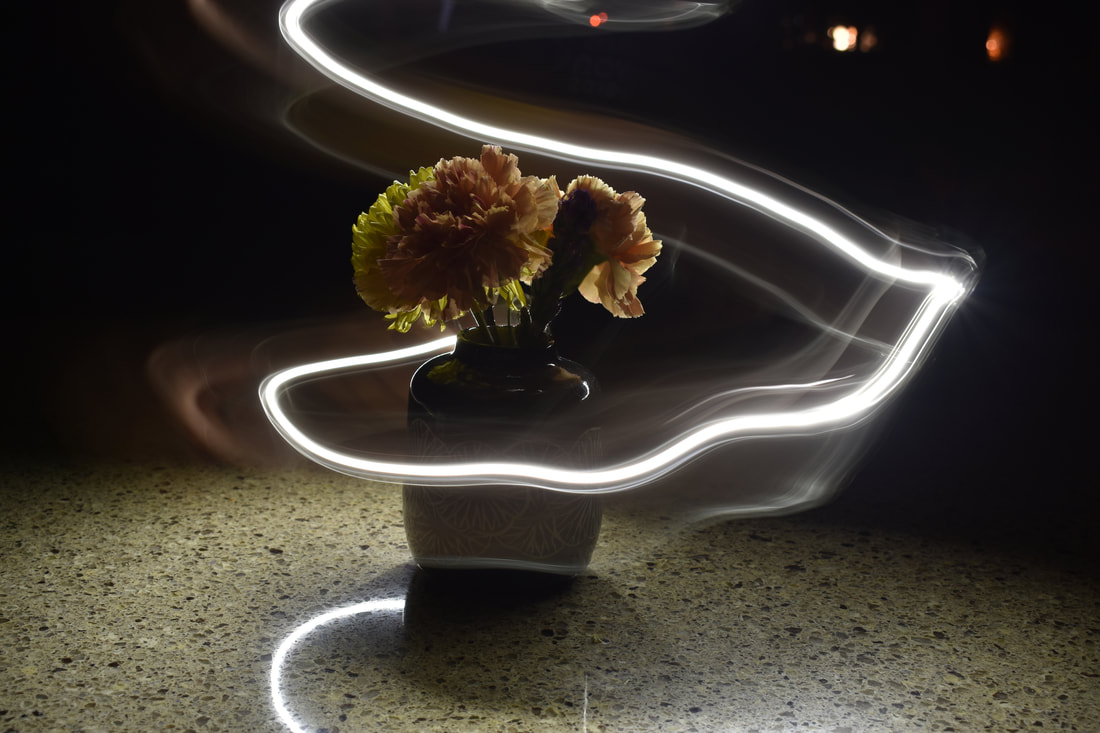
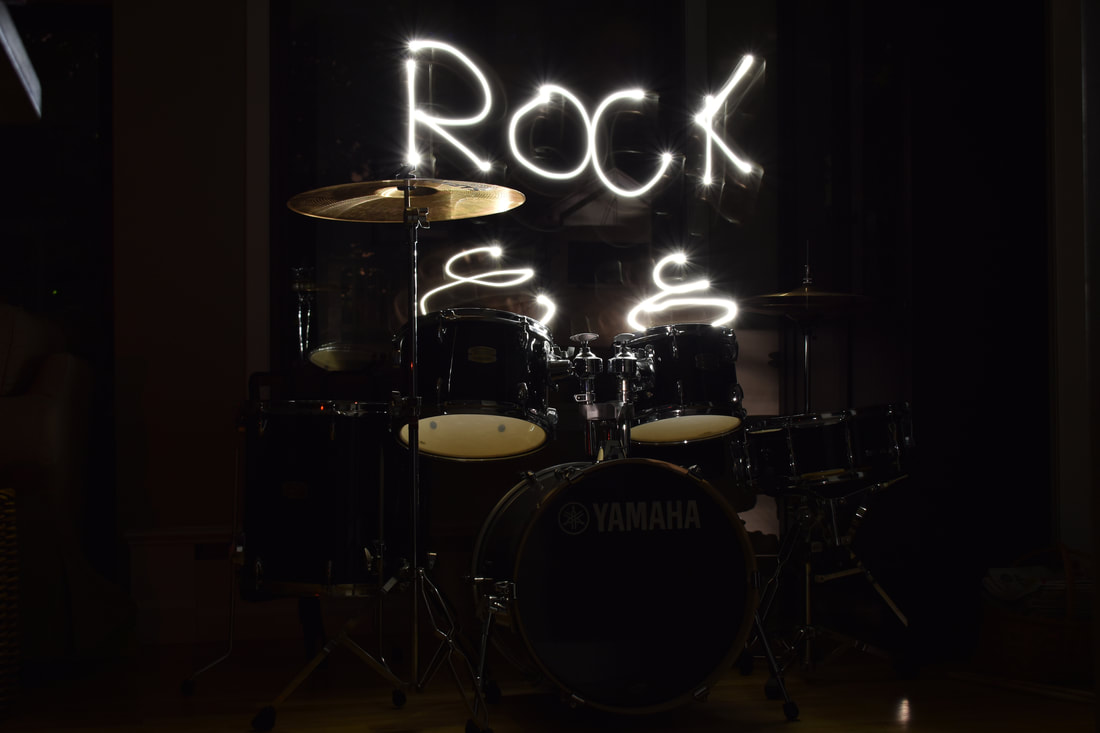
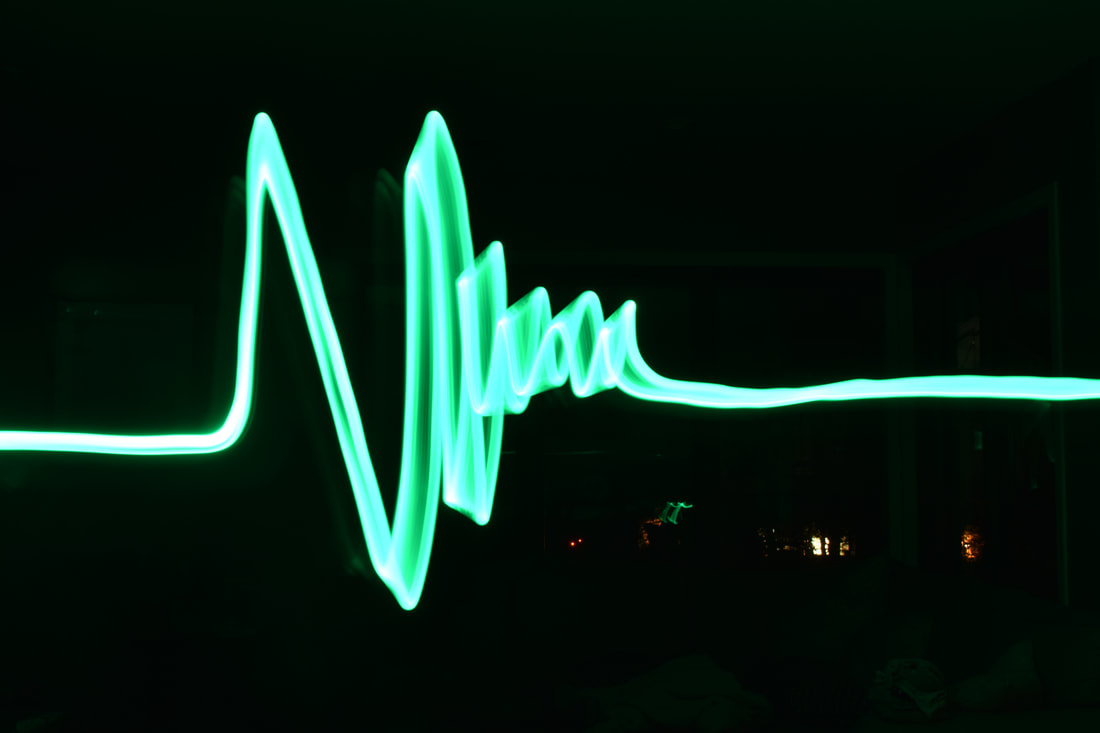
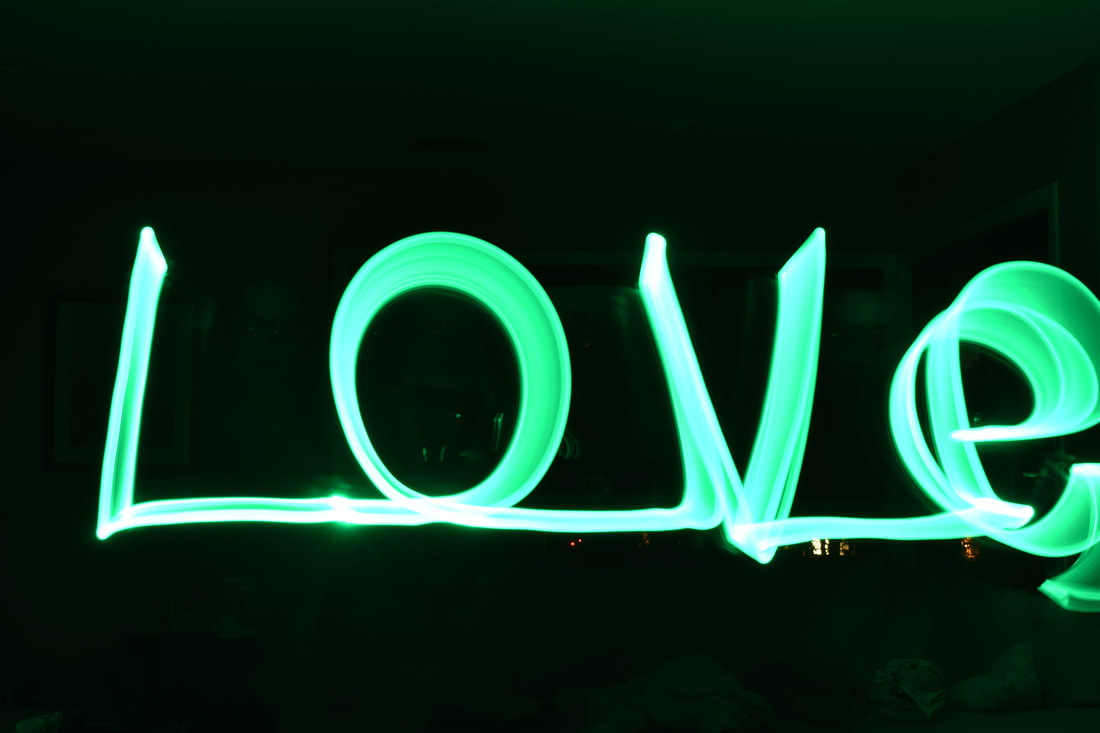
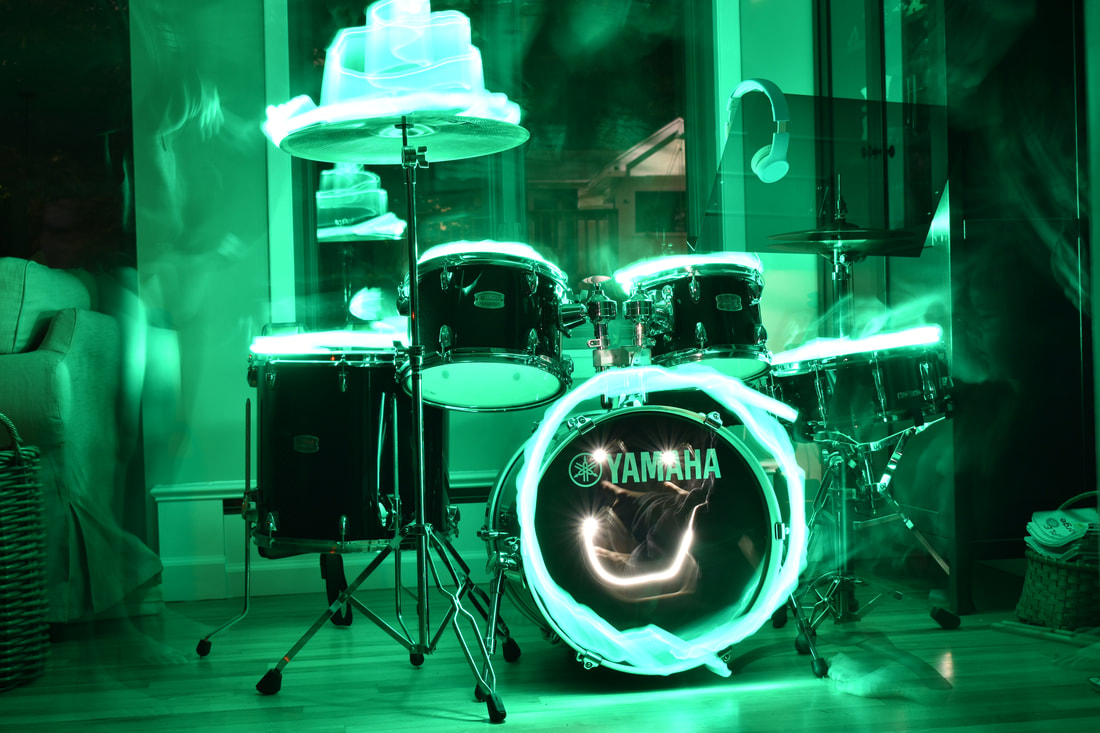
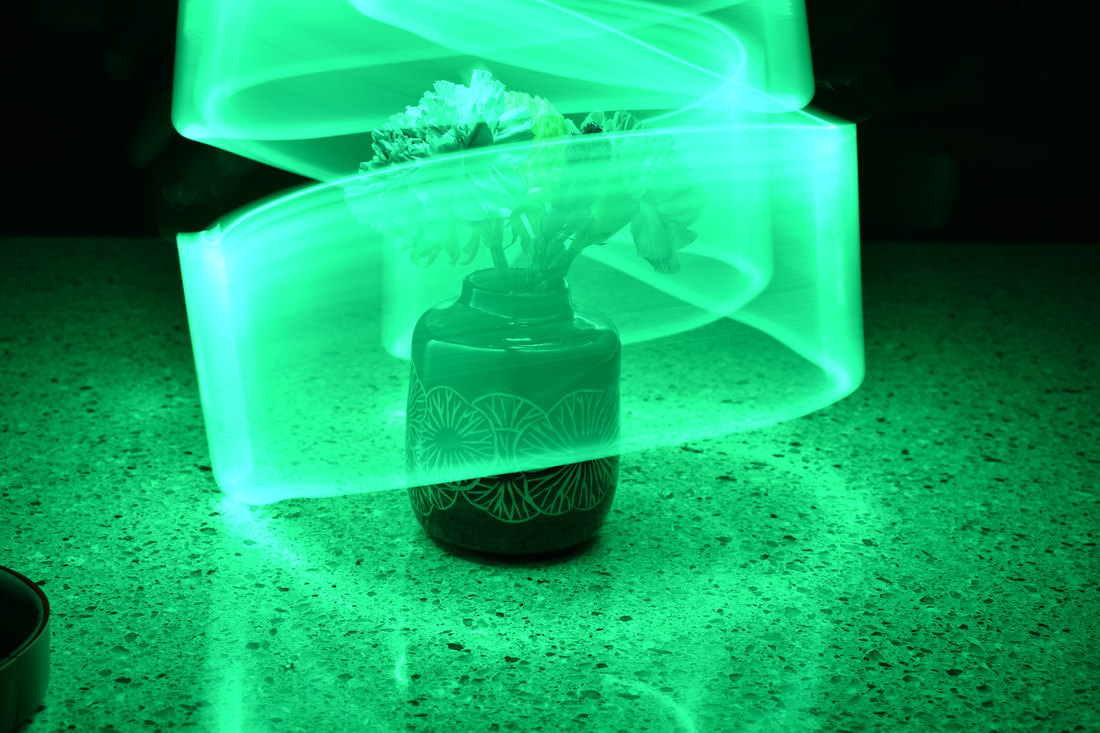
For this assignment, we had to choose a topic to take photos of. I chose the topic light painting. I then took photos for this topic by leaving the shutter speed open for a long time and using my phone and a mini light saber as lights. After, I chose my best photo and edited it to have a frame.
When I edited my photo I used the clone stamp tool to get rid of a weird orange light that showed up the the background of my photo. I also added a frame. my next best photos: During this assignment I learned how to use the time setting on my camera shutter speed. This setting let me click for the picture and then take as long as I want to draw with the light and then click the shutter release button again. This was nice because I could take as much time as needed to do my light painting. I still want to work on using different types of light without exposing too much of the background.
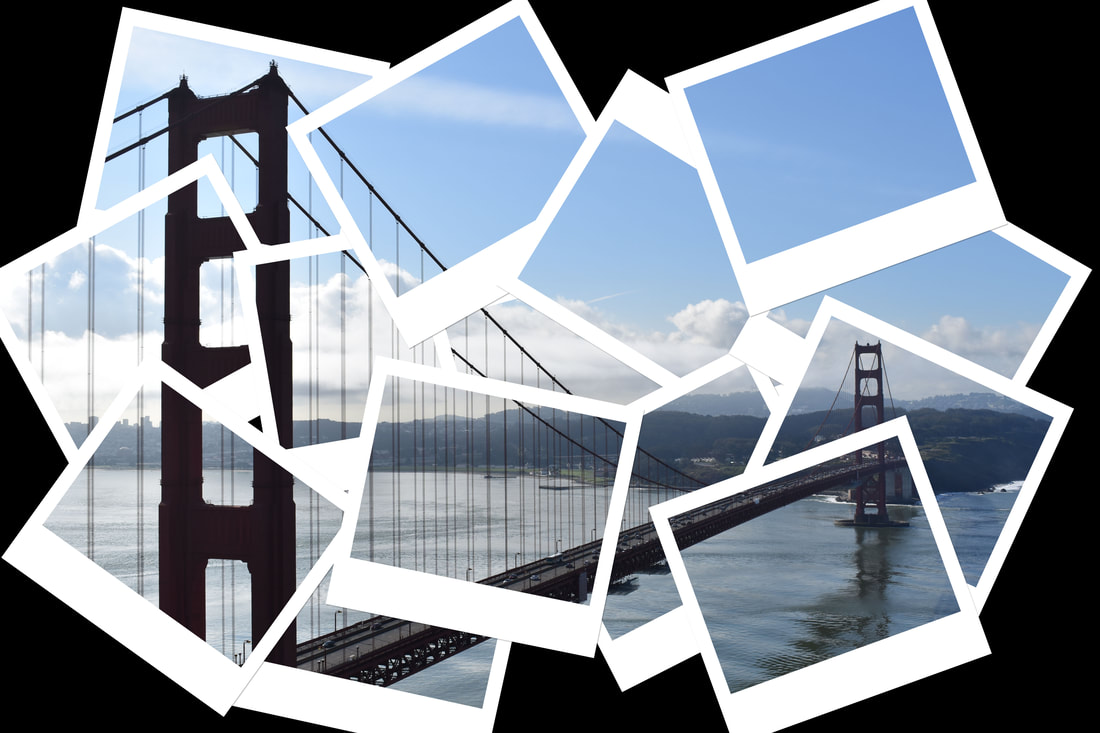
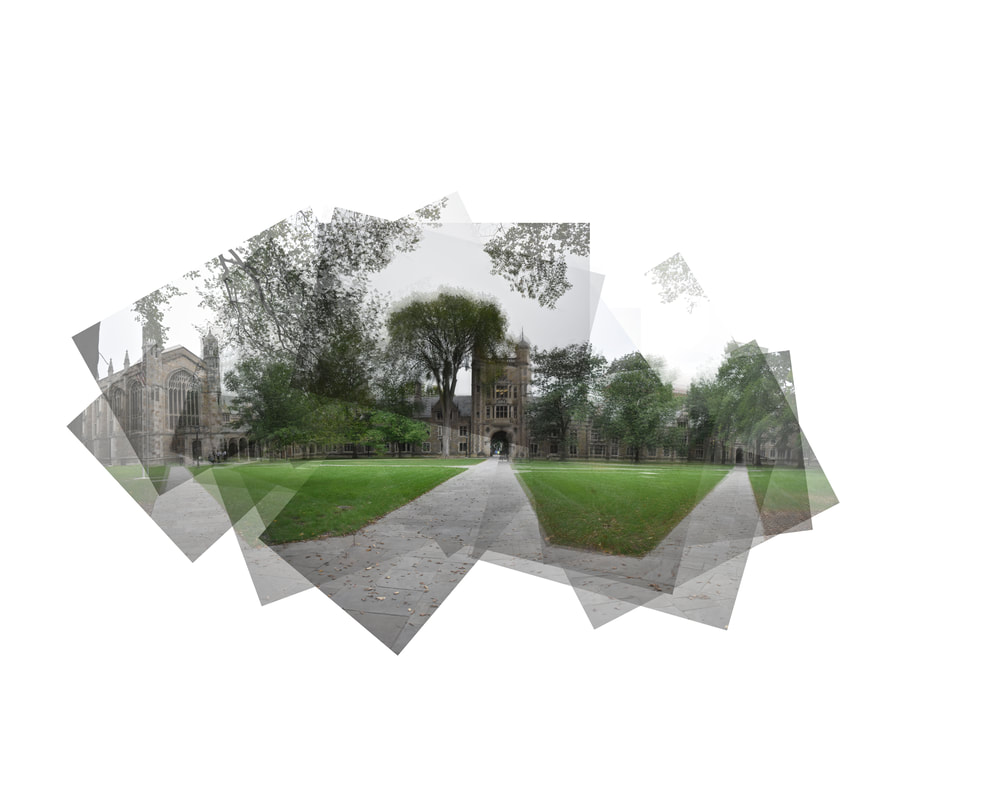
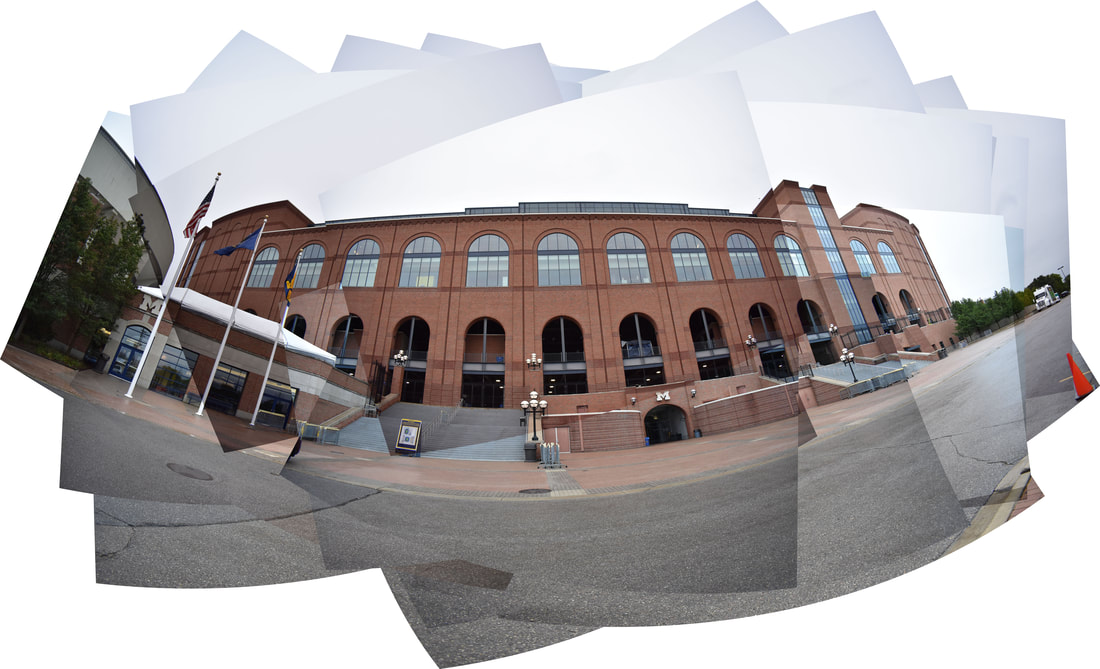
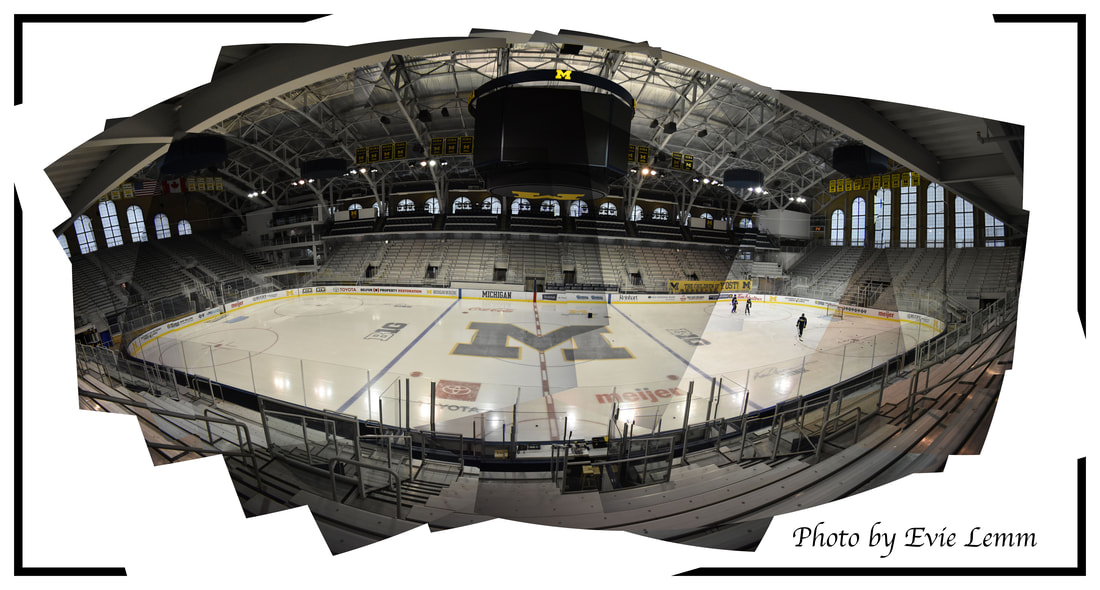
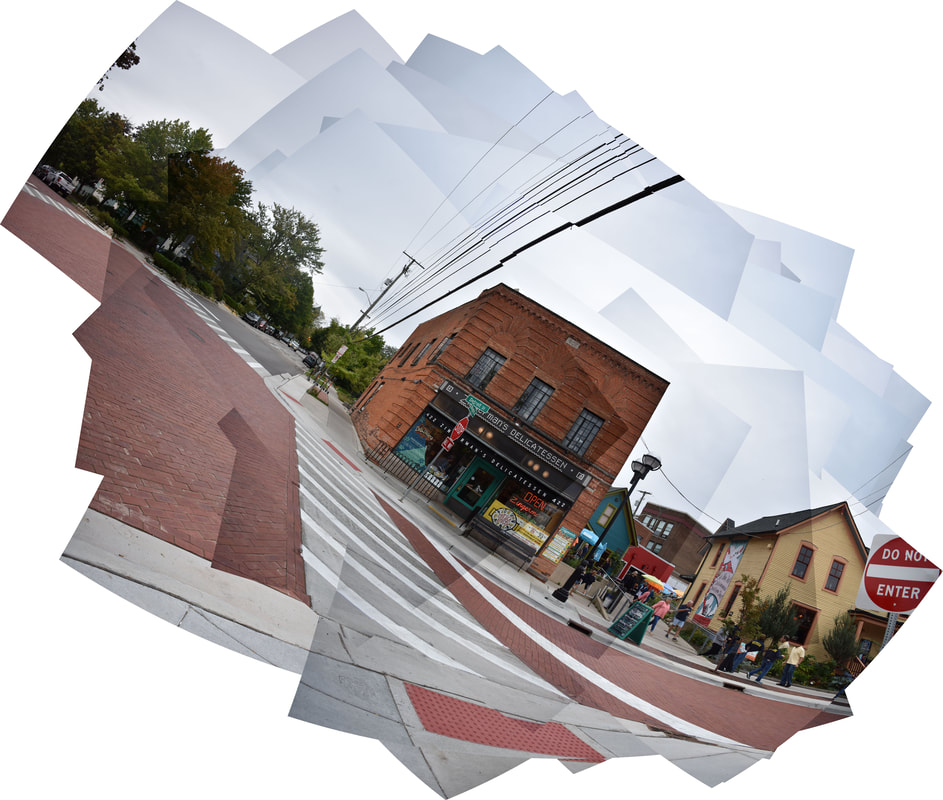
For this assignment we took at least 20 photos of the same thing, but at different angles. We then used photoshop to either manually piece the photos together or to use photo merge. After we are done, we blog it. 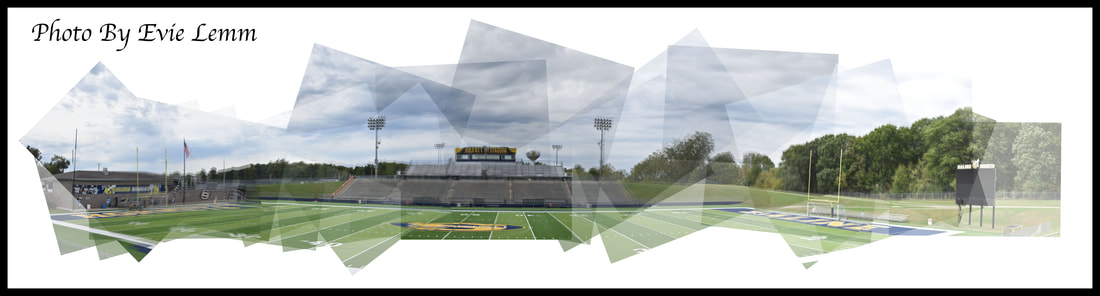 While doing this assignment, I learned how to piece together photos. Something I learned that came in handy was using image processor. This tool allowed me to make all my photos the same size without me going to every single photo and using image size. Next time, I have to work on keeping the lighting consistent so there are not weird lines of different colors in the photo when photomerge places them together.
|
AuthorEvie Lemm ArchivesCategories |


 RSS Feed
